As the cold November wind blows the final leaves from the trees, the absence of the leaves allows us to see beyond, to what we couldn’t see before, and our vision becomes enhanced. Similarly, the November wind of thankfulness gusts through our lives, and enhances our vision. Gratitude by nature enhances vision by adjusting focus. I have heard it said many times, “What we focus on, we magnify”. November blesses us with the opportunity to focus on, and therefore, to magnify gratitude. To read full post on Creating an Environment of Thanksgiving in your home, click here.
Rejoice always, pray continually, give thanks in all circumstances; for this is God’s will for you in Christ Jesus. (1 Thess 5:16-18)
Every November I bring out the gratitude leaves in our home. Years ago a friend introduced me to this concept and we have been using it ever since. It has taken on a few different forms over the years, but the underlying message is the same, thanksgiving – grateful acknowledgement of all we have been blessed with. There are so many versions of this concept on the internet – you can search and be inspired for hours. While the inspiration of the internet is a huge gift, it can also lead to lots of inspiration without a lot of action. Set an action plan for yourself. Anytime you start is great, just get started.
Gratitude Leaves and Display Options
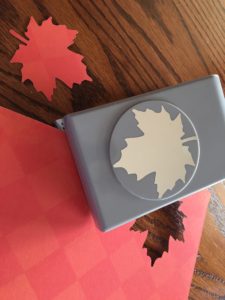
Cut leaves
These leaves will be used to write messages of gratitude on, throughout the month of November.
Amount needed: To have enough leaves for the entire month of November, plan on 1 leaf/person/day (~30 leaves x number of people in your house). You can cut about 9-12 leaves per sheet of paper, so you need about 3, 8×10, sheets of paper of person. You can share leaves if you write small.
Paper: any colored or patterned paper will do. You can use a combination of yellow, red, orange and brown if you like. This year I am using patterned paper I purchased years ago (I found it in the scrapbooking aisle at one of the big-box stores).
Cutting: I use EK Tools Paper Punch, Large, Maple Leaf. It makes the process much quicker for 100+ leaves. You can also cut leaves by hand, just keep the pattern simple.
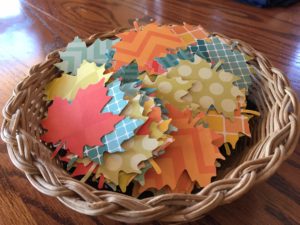
Leaf display options – choose an option that works best for you. I have done them all. We are not striving for perfection here – just gratitude. Do what works for you this season.
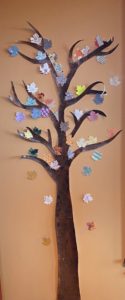
Gratitude Tree (OPTION 1): scroll down for other options
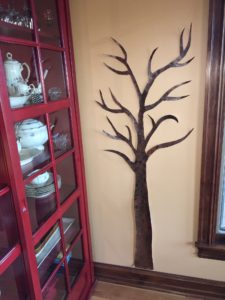
STEP 1: Download GRATITUDE TREE FILE HERE: GRATITUDE TREE
STEP 2: Save PDF file onto your computer.
STEP 3: Print images (12 sheets of paper)
- Option 1: Print images onto brown cardstock
- Option 2: Print images onto white cardstock to paint brown yourself.
STEP 4: Assemble printed documents.
- Note: Start assembly right to left, and then proceed top to bottom. We taped the paper together with masking tape on the back, and filled in the paper overlap on the front with glue (see photo).
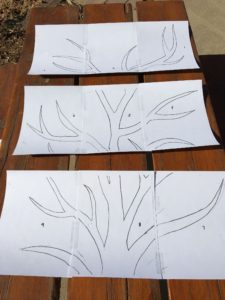
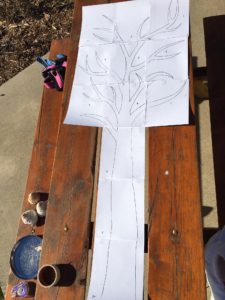
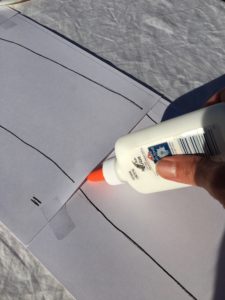
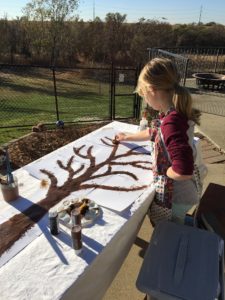
STEP 5: Paint your tree (if using white cardstock). If you chose to use brown cardstock you will omit this step and proceed to STEP 6 (ASSEMBLY).
We painted the tree brown, and then we mixed brown and black paint, and used a sponge to add texture to the tree.
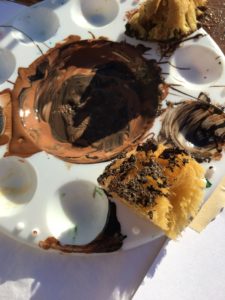
STEP 6: DISPLAY
To display tree, attach to wall or surface of your choice. We used blue painters tape to attach it to the wall. Masking tape leaves a sticky residue behind and is not recommended.
That’s it, you are done and ready to hang your leaves.
STEP 7: LEAF ATTACHMENT
I will be using the same blue painters tape to attach my leaves. Blue painters tape is easy to remove and will allow us to use our tree year after year, with proper storage.
Gratitude WALL (OPTION 2):
Choose a wall or window where you can attach rows of loosely tied jute twine. I didn’t intentionally capture a photo of our wall last year, but it was in the background of another picture… so this is the best I have for you. Hopefully it gives you the idea. We used jute twine and clothespins.

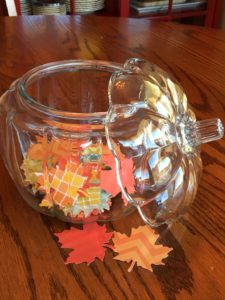
Gratitude Jar (OPTION 3):
Have a clear glass jar to collect gratitude leaves in. Simple and beautiful.
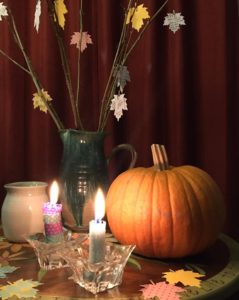
Gratitude Tree, Branches (OPTION 4):
We used this option a few years ago, but with 6 people in our family, we simply had too many leaves for our branches. I do however plan on using something similar on our Thanksgiving table this year for guests to fill out and enjoy.
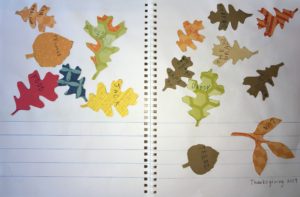
What to do at the end of November?
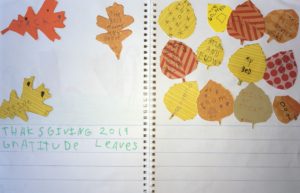
I sort the leaves by person and we read over them again. We then glue them into our gratitude journals and date the page. These leaves have become a fun keepsake. I try to encourage my little’s to write their own leaves because I treasure their sweet handwriting as much as their simple gratitude. With that said, I also want this to be a fun memory for them, so if they don’t want to write, I simply do the writing for them. This is not a lesson in handwriting, it is a lesson in gratitude. I have to remind the multi-tasker in myself to stay focused.
Blessings to you and your family this holiday season. May the blessing of gratitude overwhelm your hearts this Thanksgiving season and throughout the year.
