Homeschool Incubation Project
As part of our homeschool curriculum this year, I knew I wanted to give my children (and let's be honest - myself) the experience of hatching a baby chick. Years ago we volunteered on a farm and had the opportunity to hold baby chicks, lambs and pigs each spring. It sparked a fire in me that has never been quenched, and a hatching experience has been on my wish list ever since.
Trying to find fertilized eggs to hatch proved to be more challenging that I first thought. That was until I called our Cooperative Extension and got connected with the Embryology program. As a part of their elementary school program, the Extension provides schools and homeschool families with fertilized eggs and an incubator for an indepth hatching experience. In addition to the equipment and the eggs, they also provide an excellent selection of educational resources to accompany this experience. It was an open and go curriculum, complete with baby chicks! What an incredible blessing.
The eggs we hatched were White Leghorns. The Extension did give us the option to keep or return the chicks we hatched. Based on my research, this breed was not my first choice. They are known for their stellar egg production, but tend to be more flighty, nervous and shy, not the ideal bird for small children. Because there are so many other breeds that are great with children, we decided to hand select our own. More on that later...
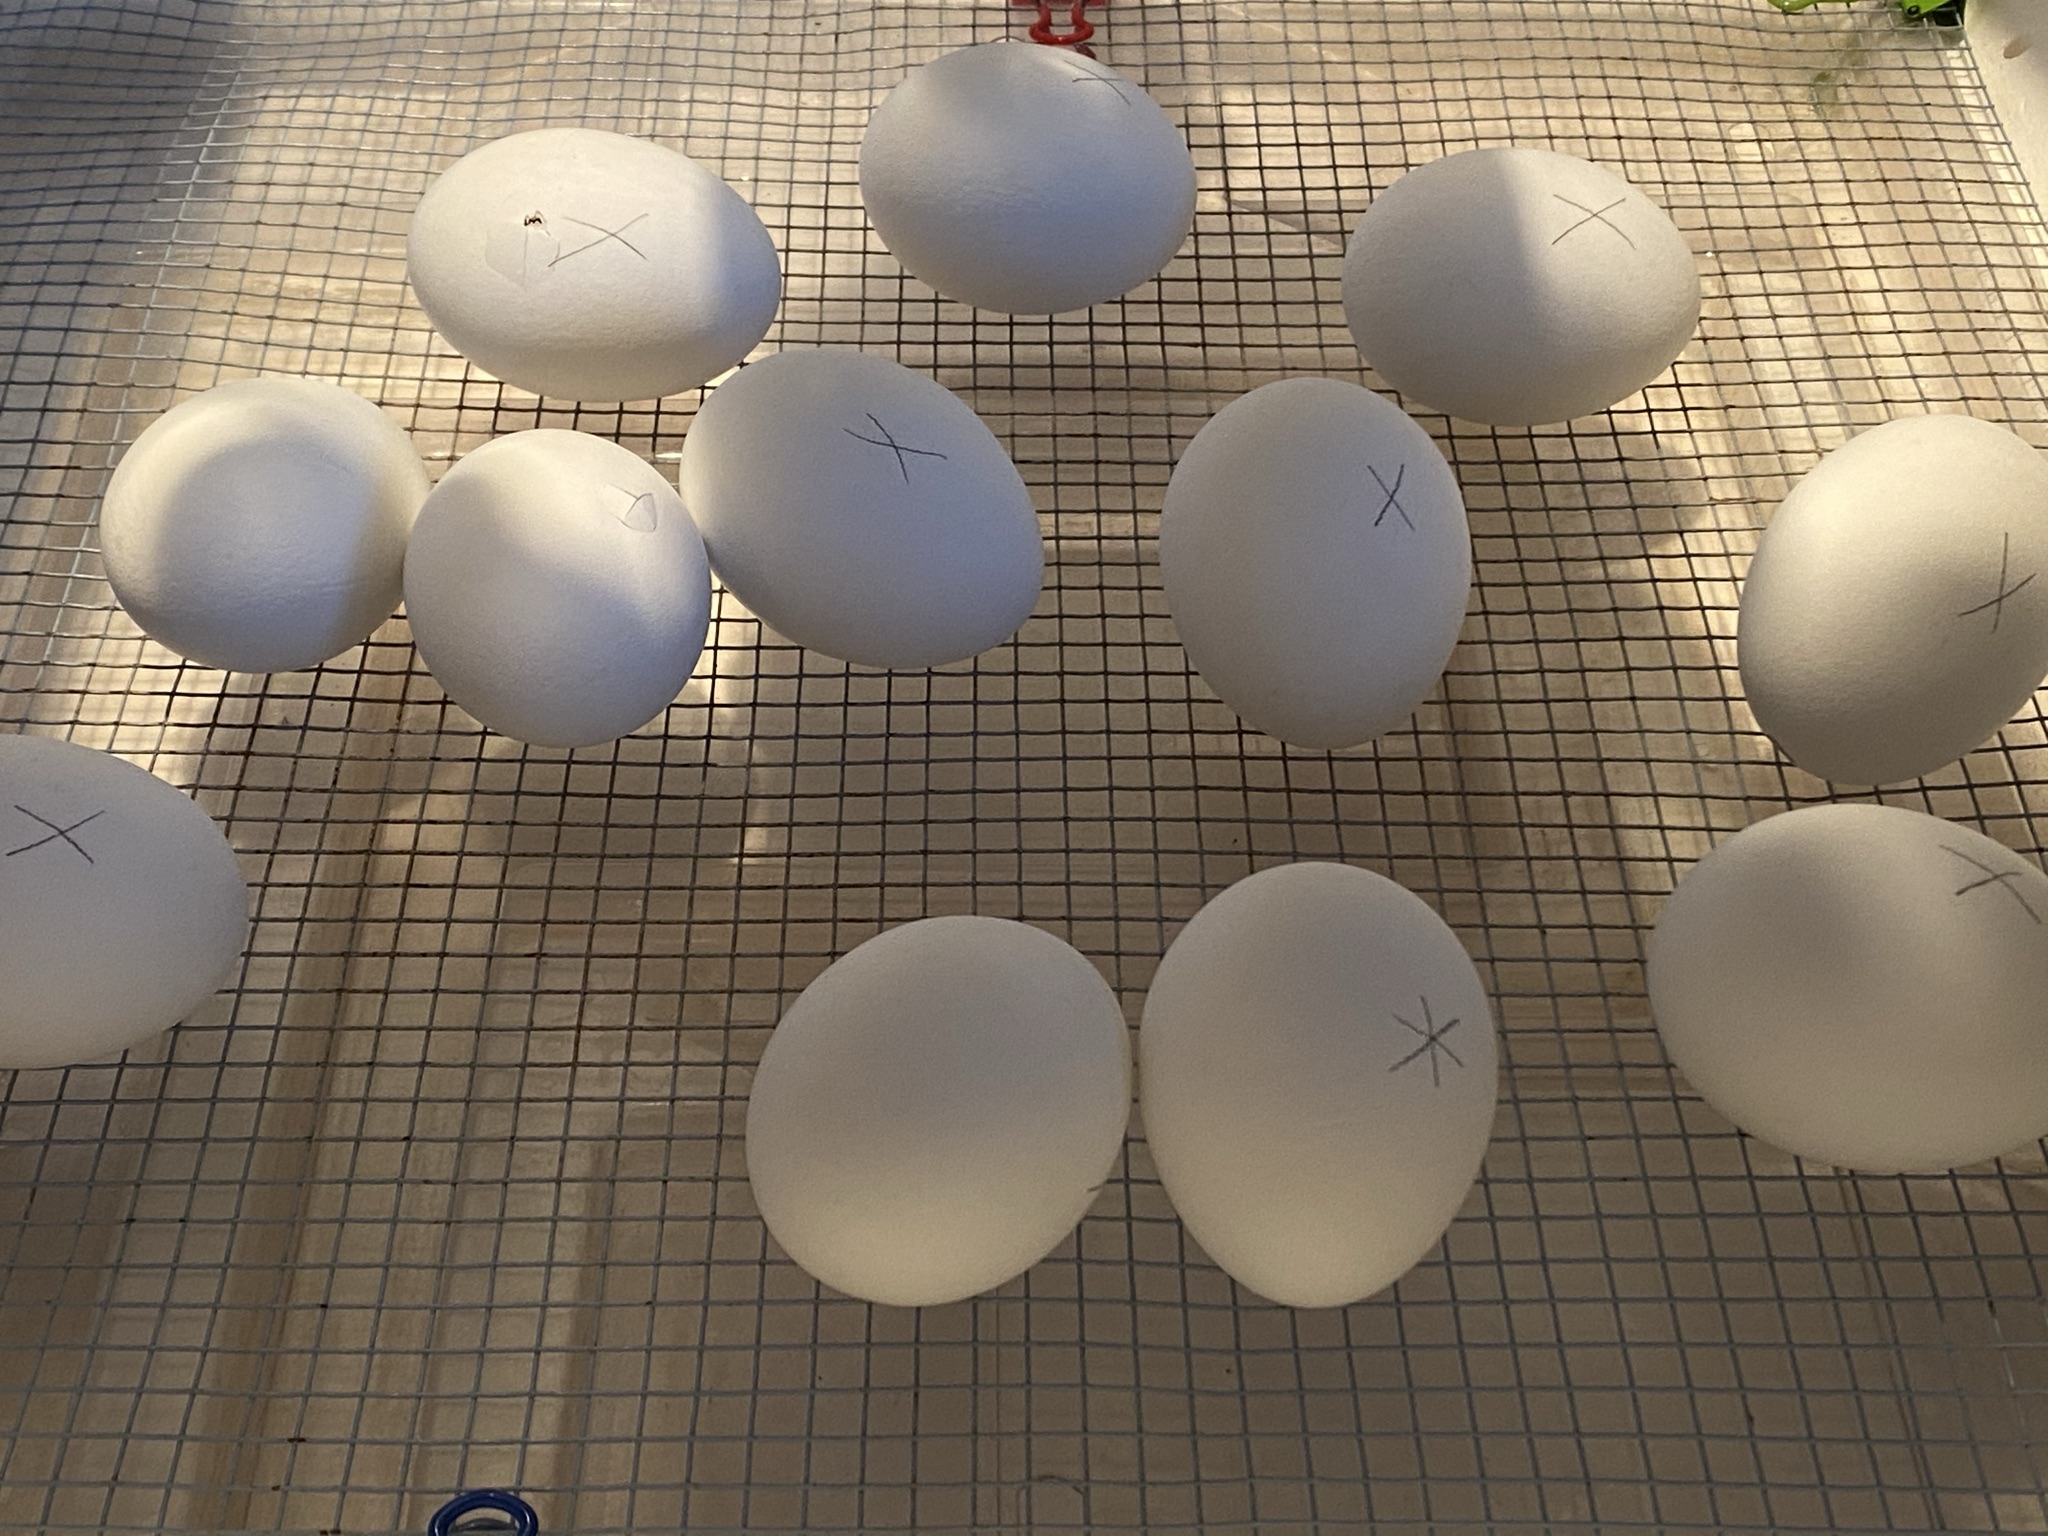
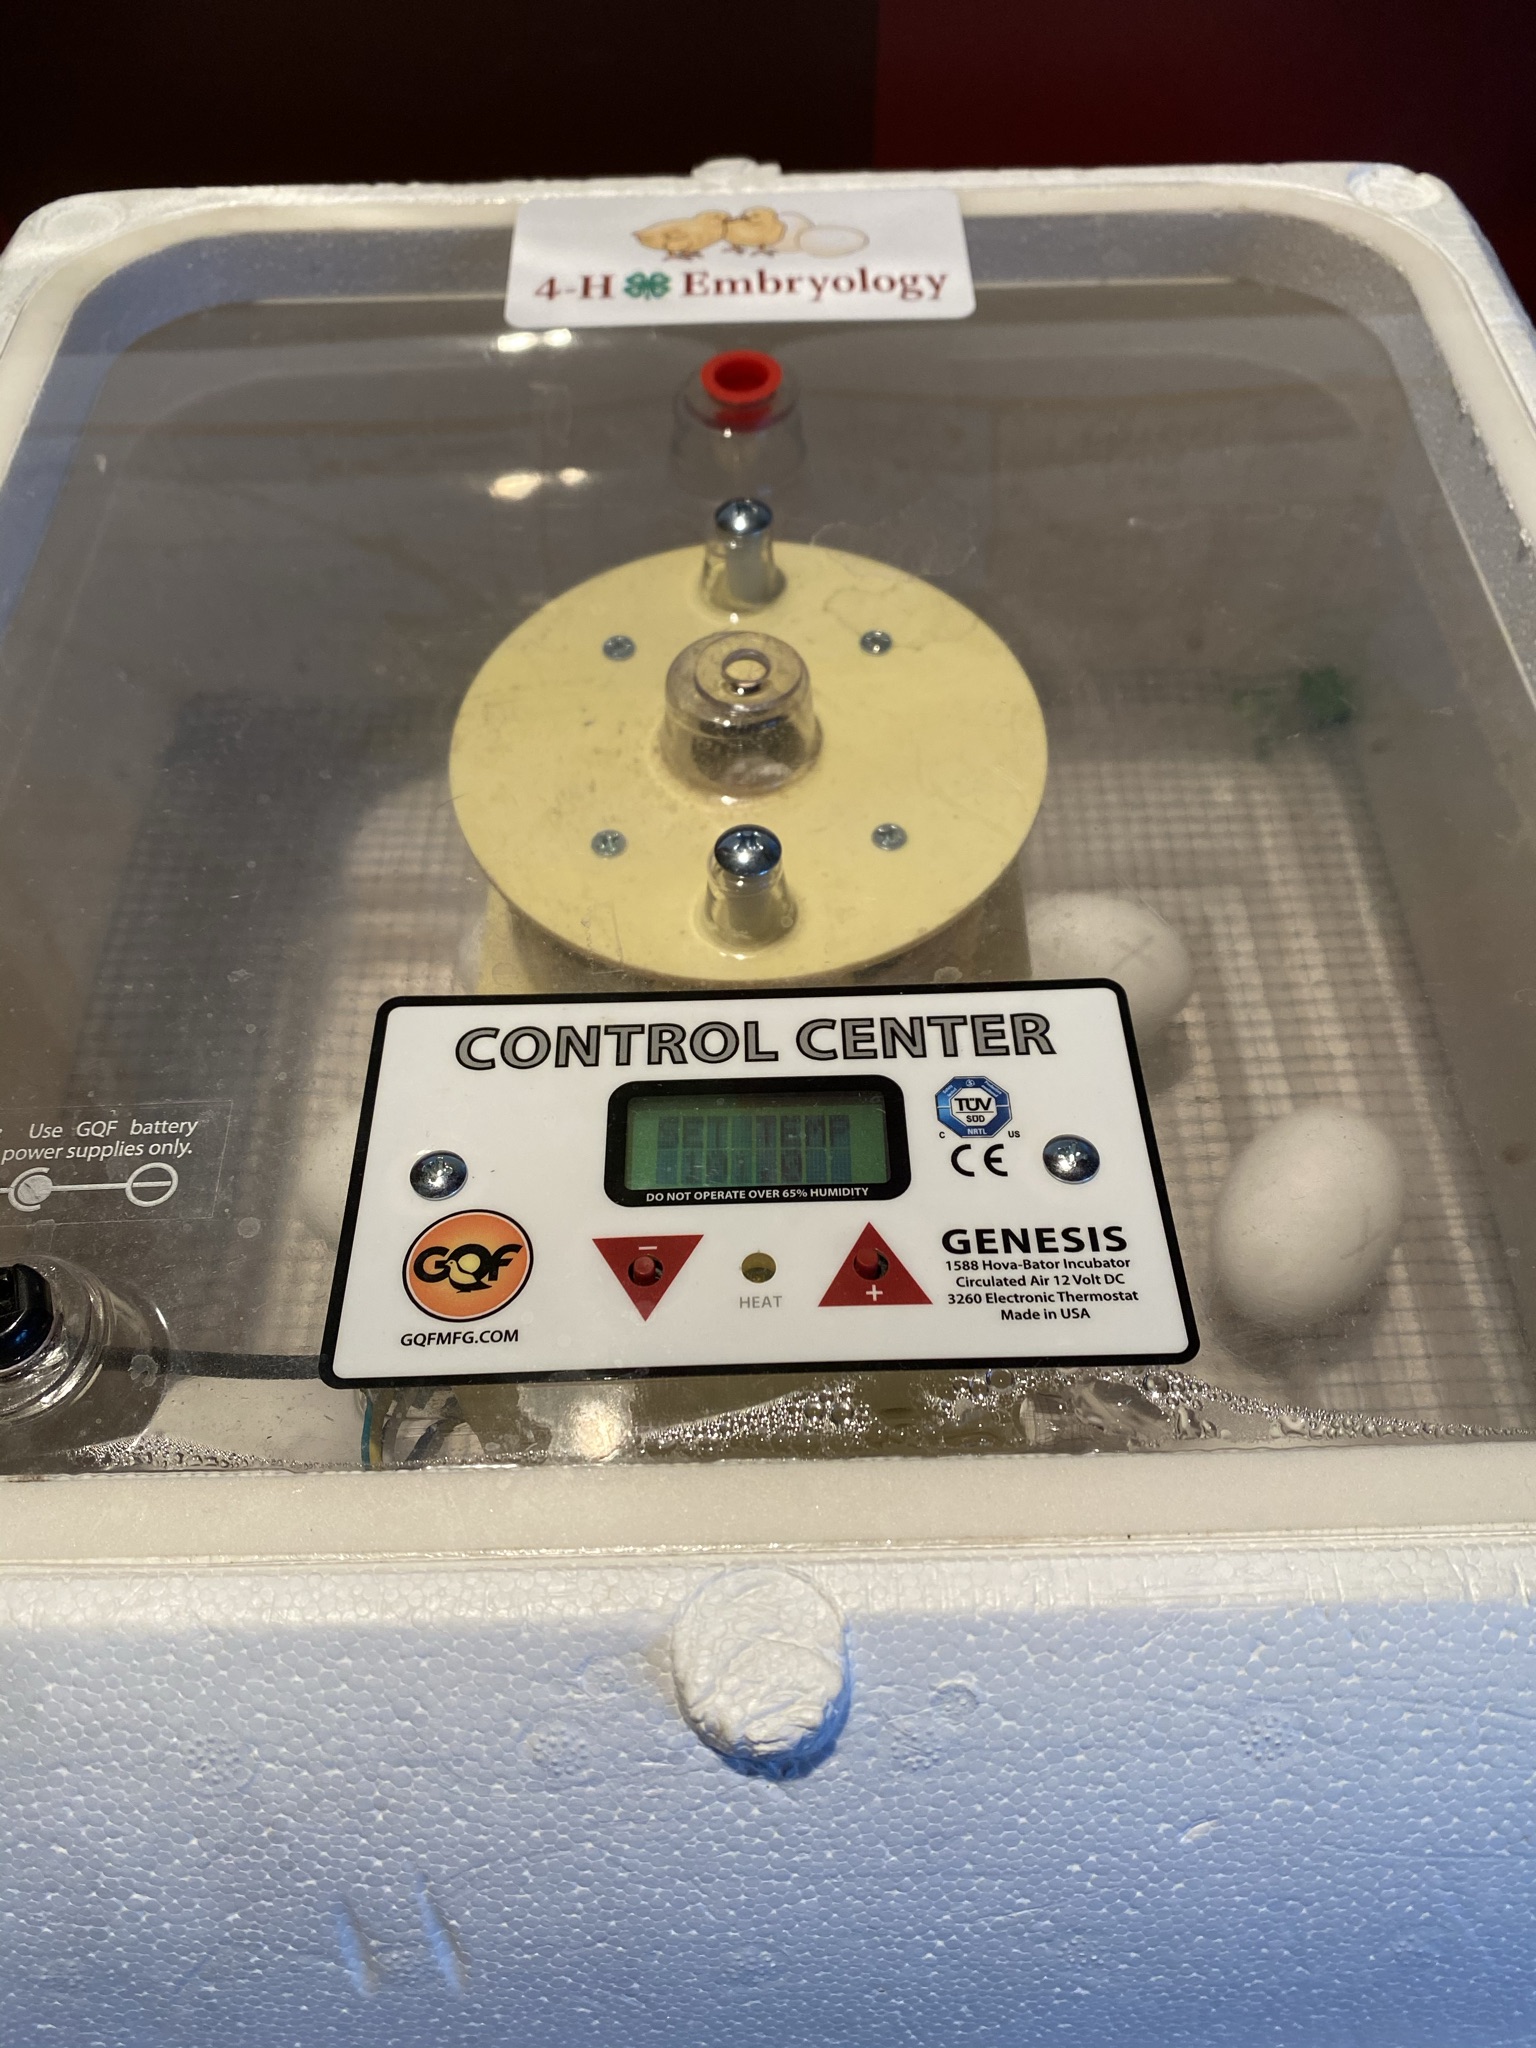
Day 1 we set up our incubator and prepared for the 21 day journey to hatching. The fertilized egg begins its development the moment they are held at around 100 degrees F. If never incubated the fertilized egg would never begin the process of embryo development.
We rotated our eggs morning, noon and night for almost 3 weeks. On day 7 and 14 we candled them with a flash light to determine if the egg was a winner, quiter or a yoker, and to take a look at the development inside. A winner has a viable chick forming inside, a quiter was fertilized but didn't succeed in development, and a yoker was never fertilized. Amazingly all 12 of our eggs were winners! On day 18 we stopped rotating our eggs and just let them sit in the incubator until hatching day. Right on track, on day 21, the hatching process began.
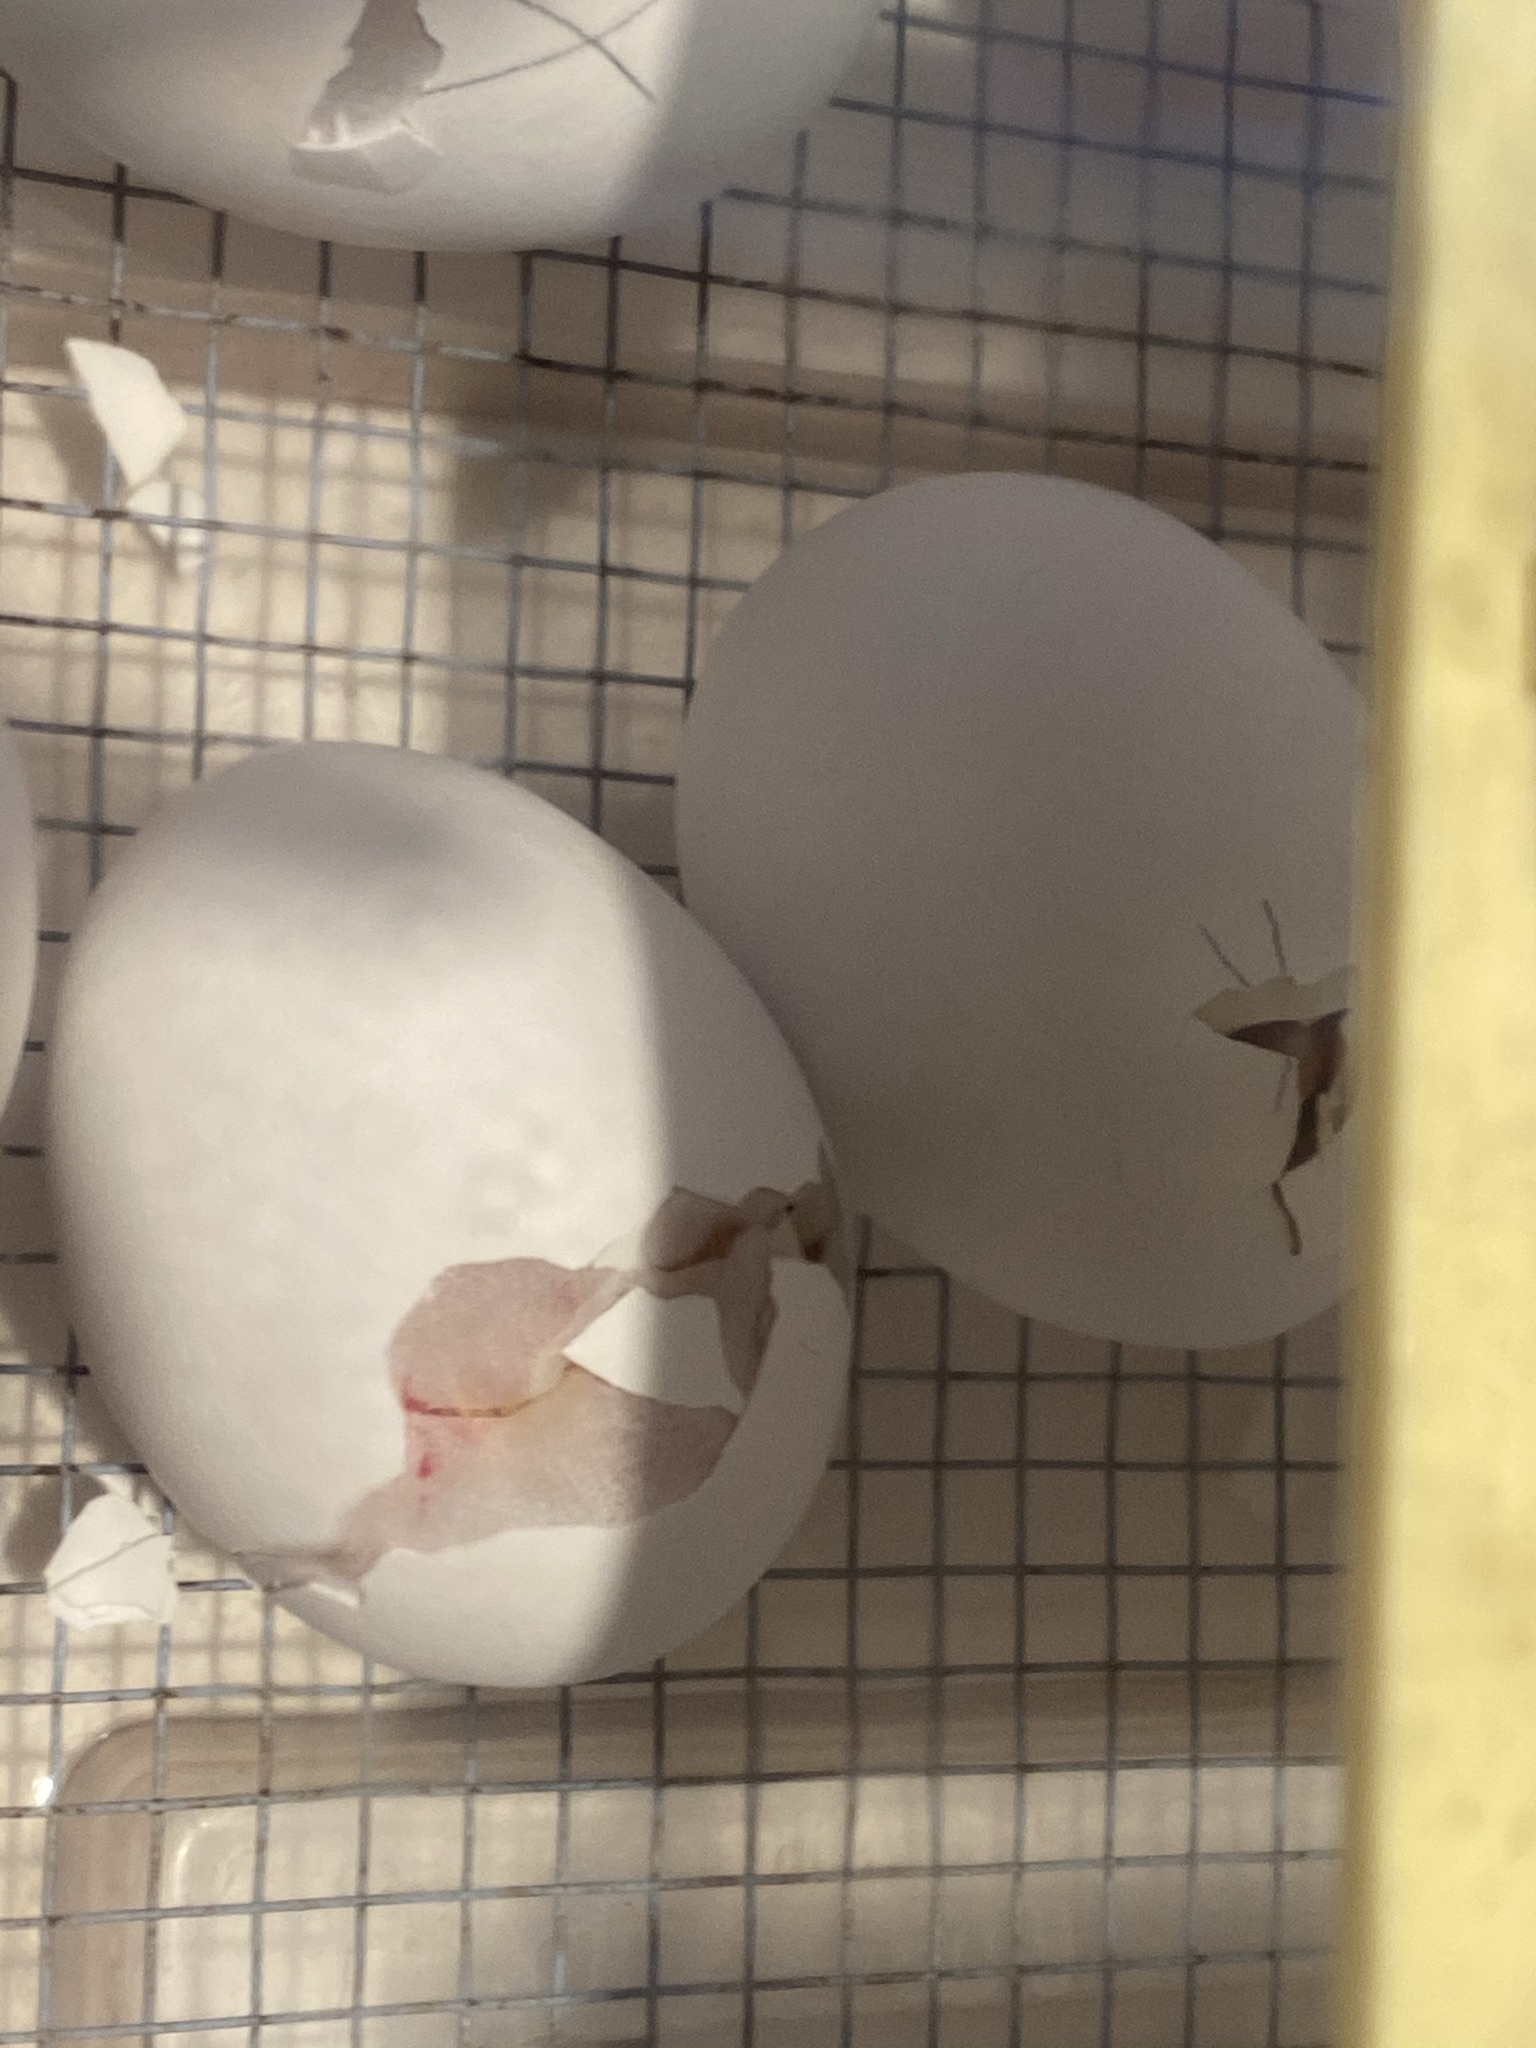
Day 21 - We saw our first pip/crack in the shell. The chick inside started to chirp. A couple of hourse later, the baby made its way out of the shell.
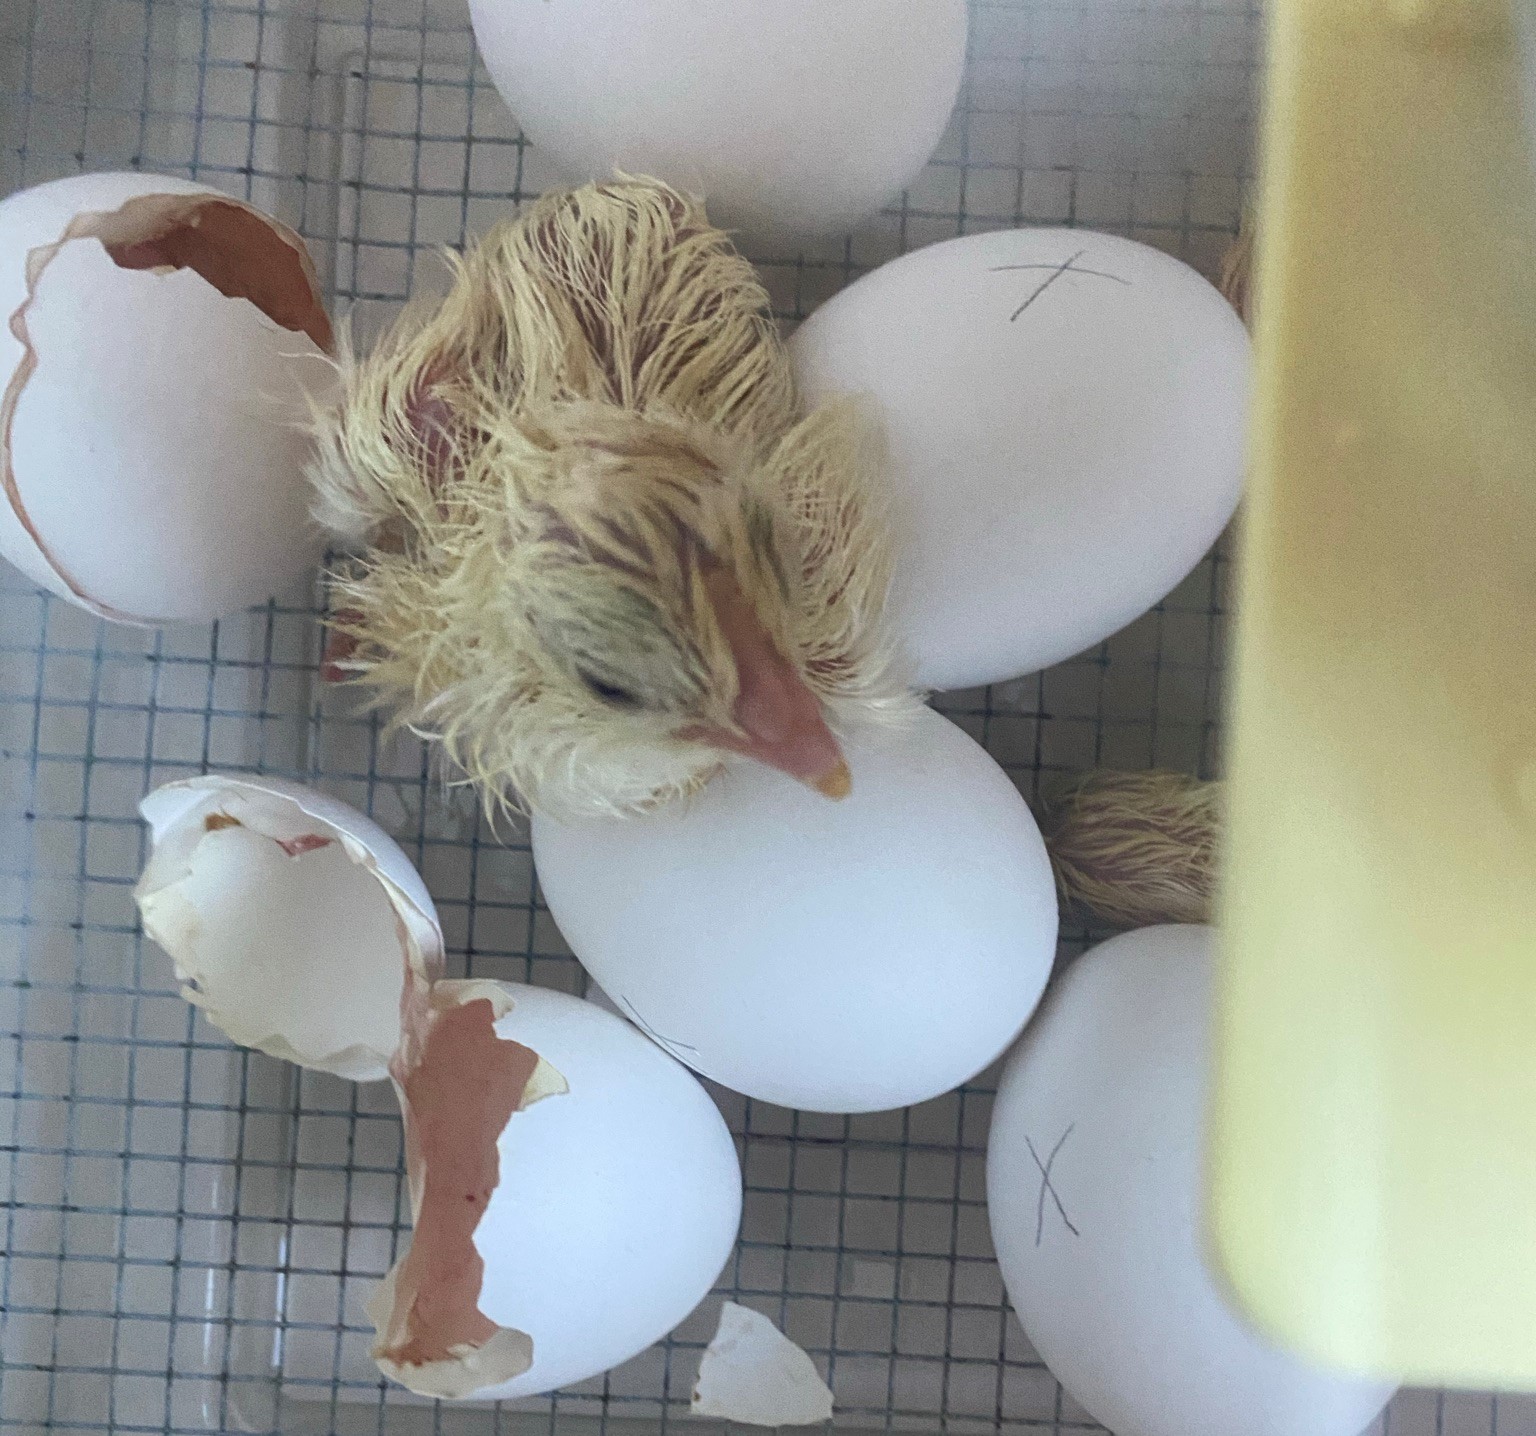
You can see this chicks egg tooth on the tip of her beak that she used to break out of the egg.
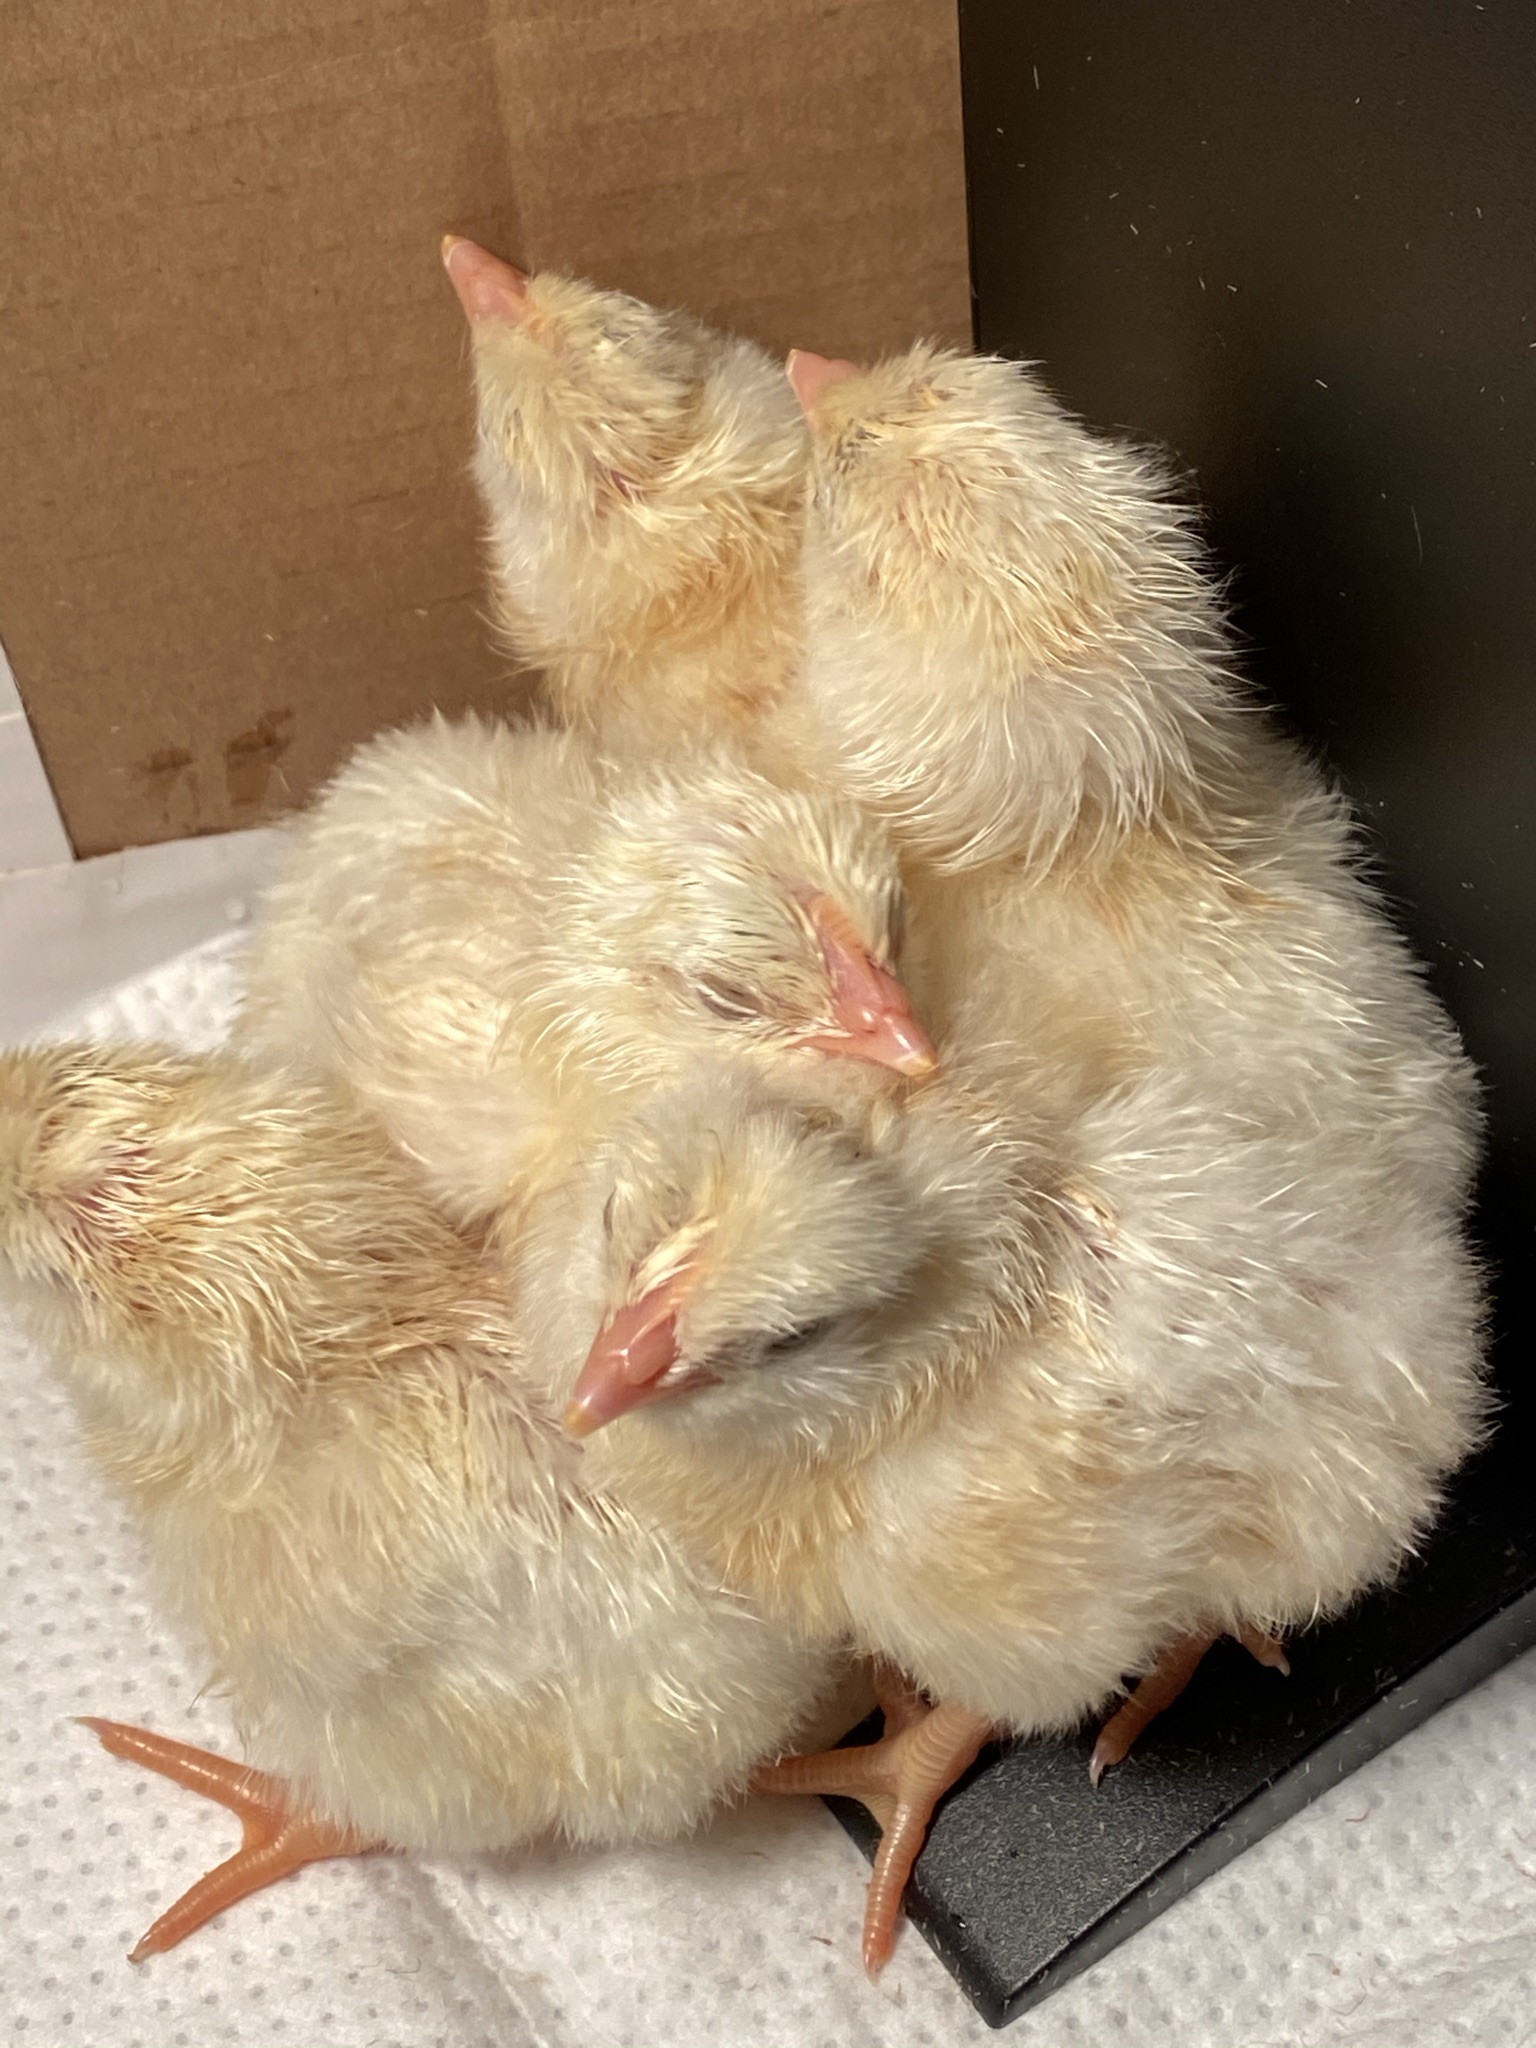
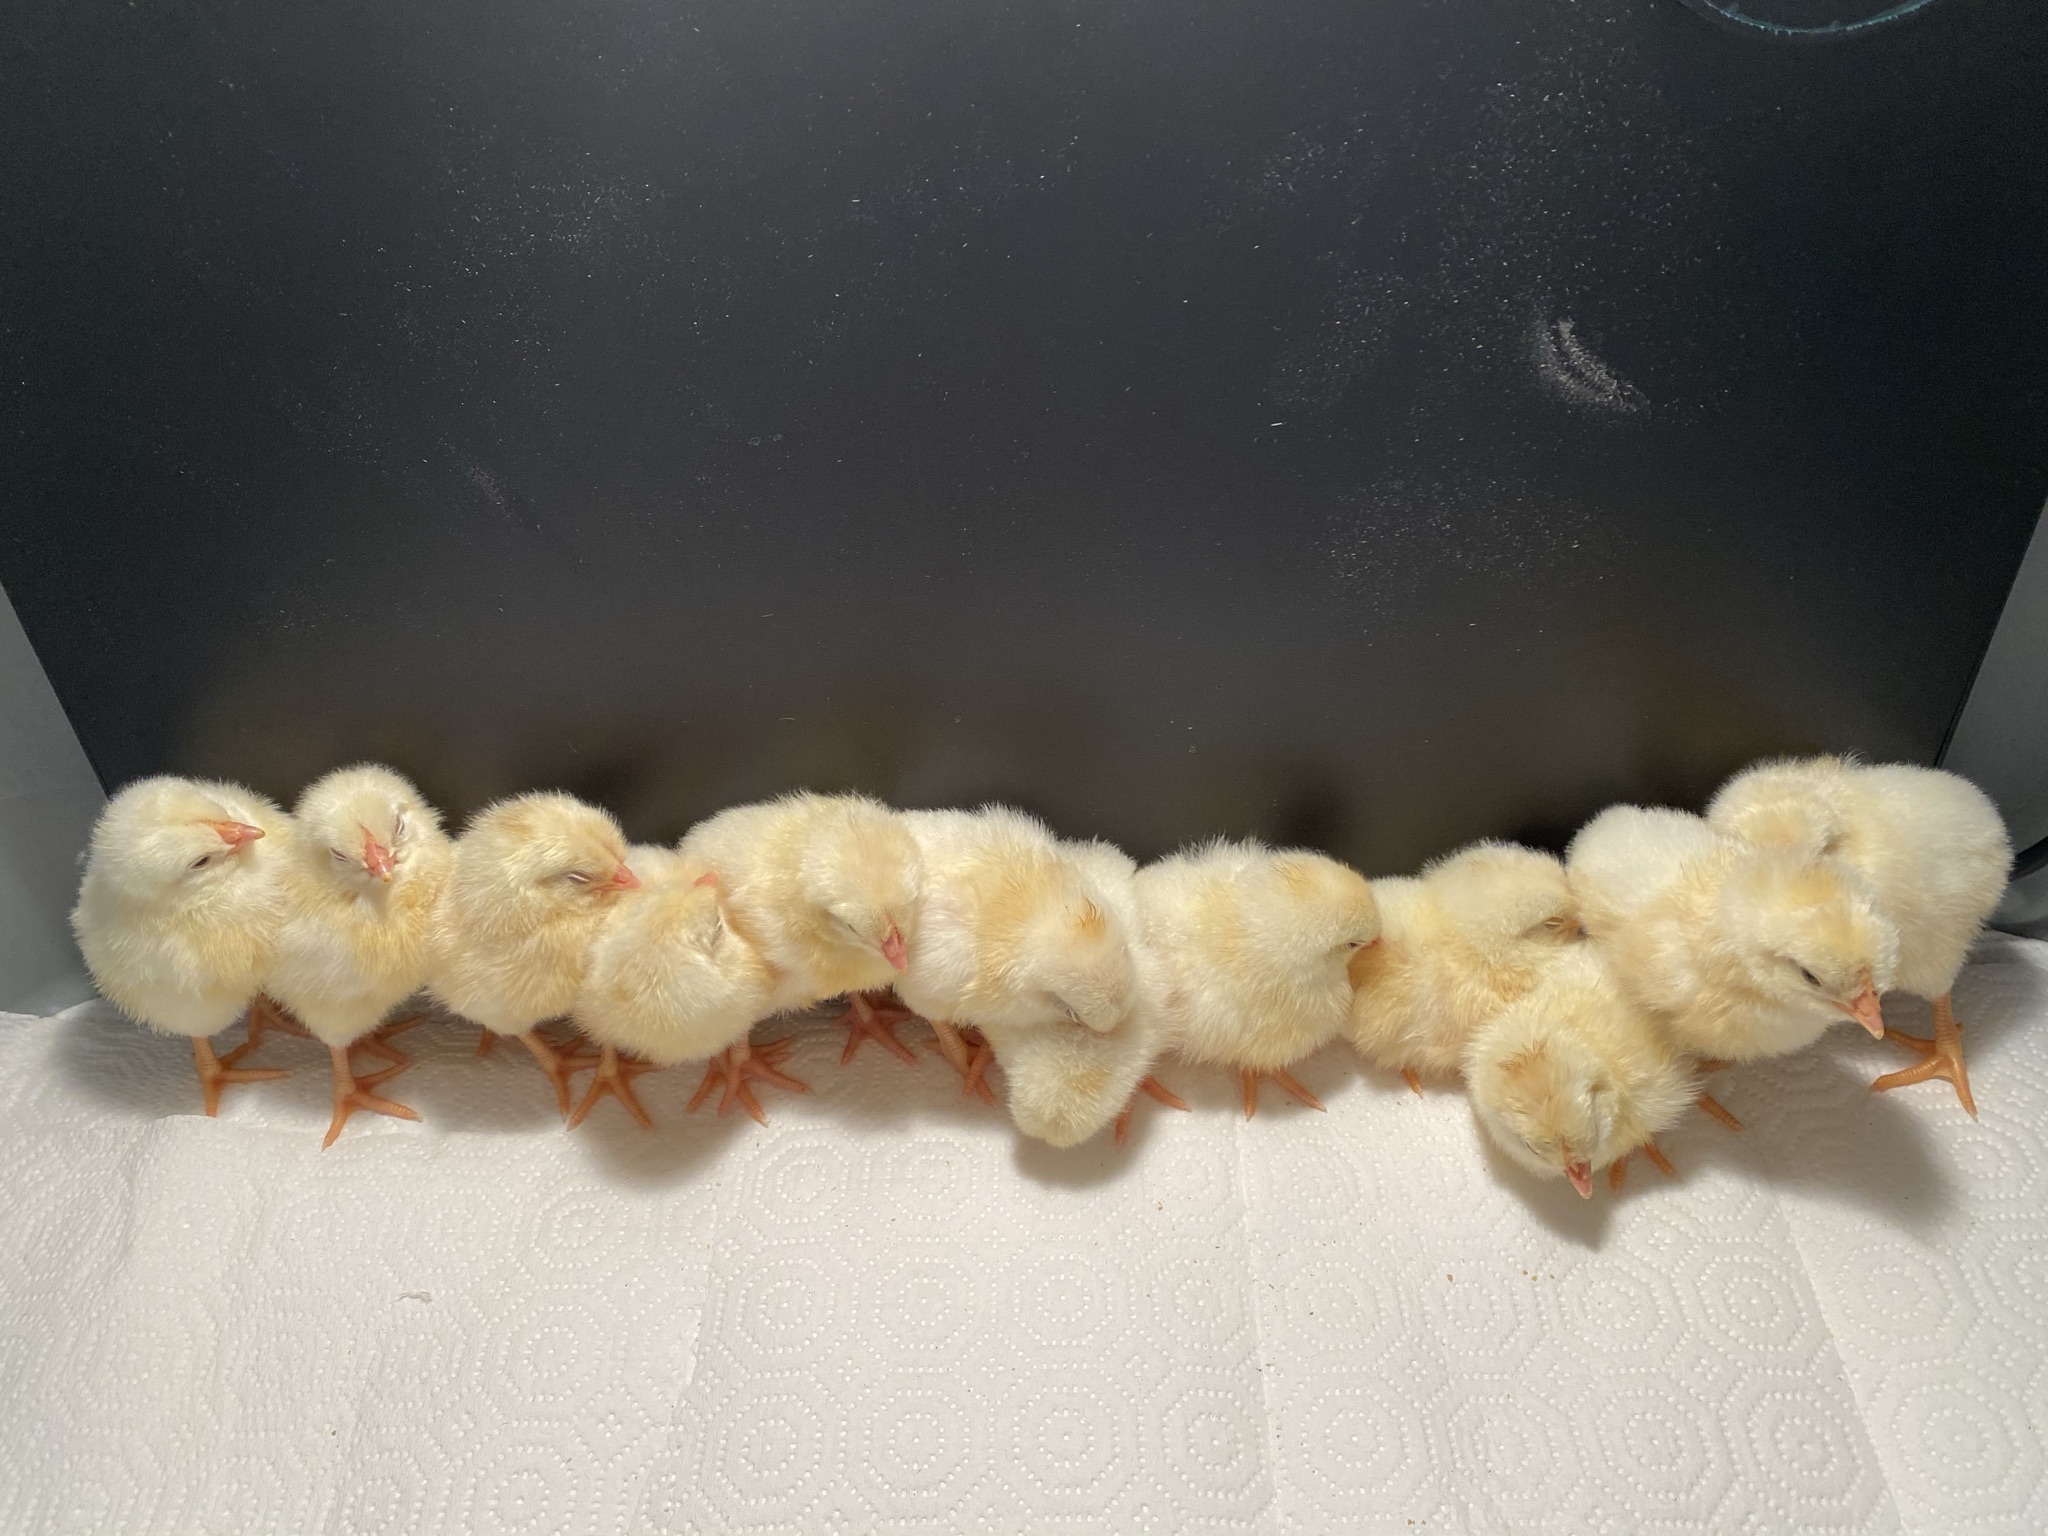
Most of our eggs hatched over a 24 hour period, though two eggs took almost 48 hours. When all was said and done we had 12 healthy, fluffy baby chicks. They all lined up along their radiant heater for a quick photo. So cute!
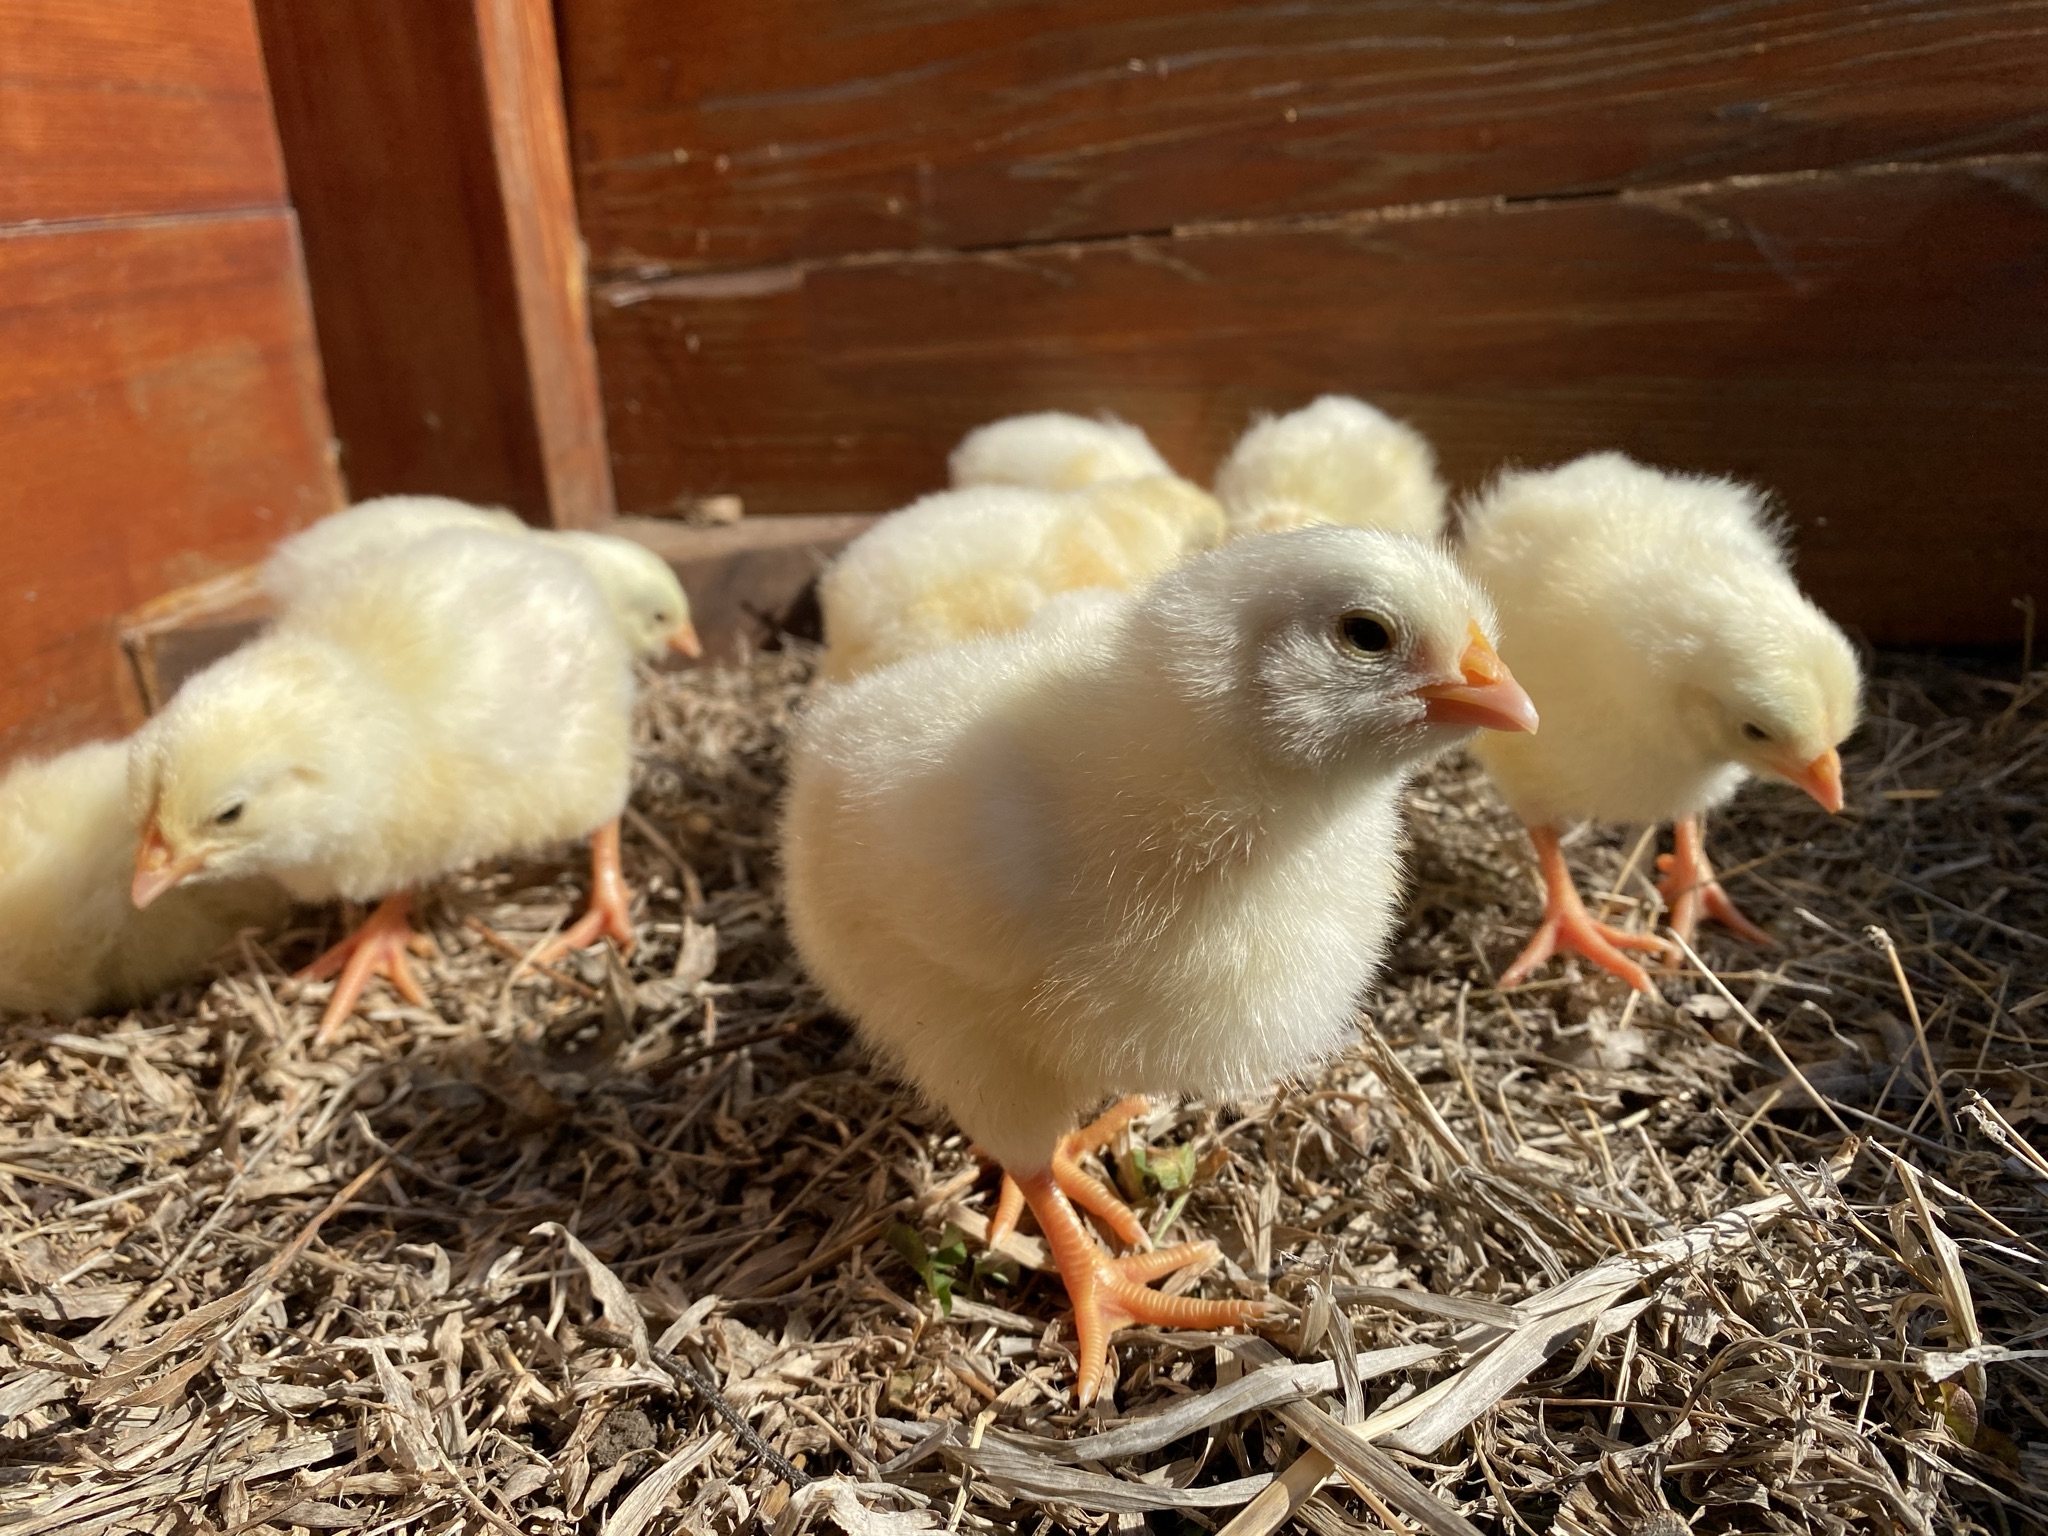
A few days after hatching we took them outside for some fresh air and sunshine. Aren't they precious!
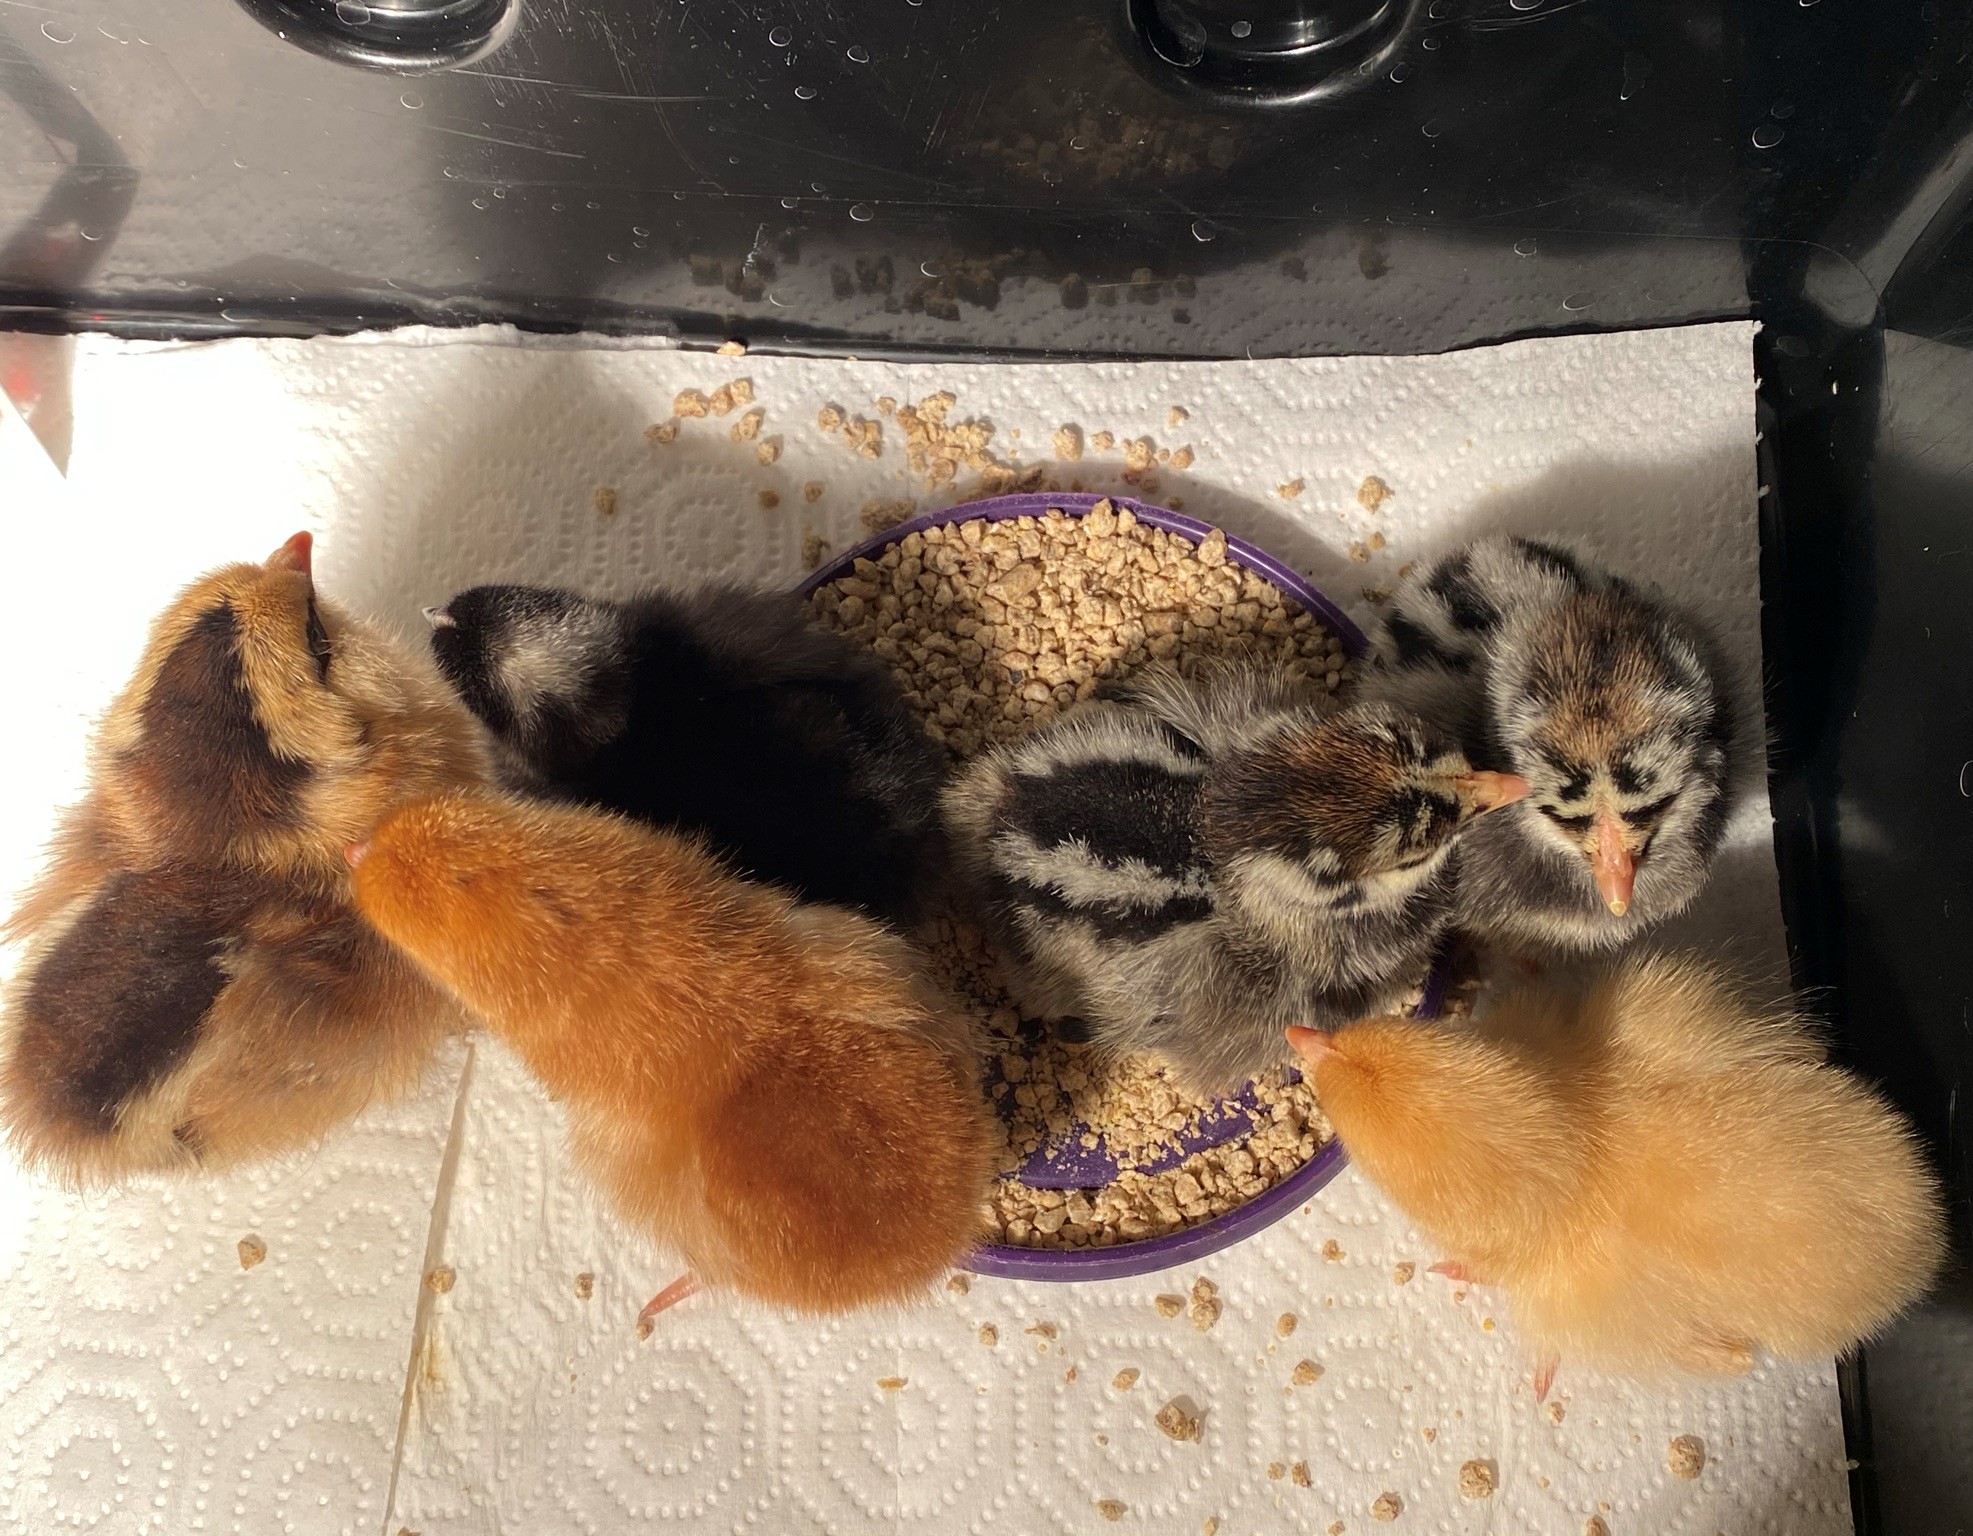
Day 5 after hatching, it was time to return our baby chicks to the Extension office. It was sad to let them go, but we replace them with 6 baby chicks of our own. You can see the colorful bunch below.
Here are some cinquain poems the kids wrote about their hatching experience.
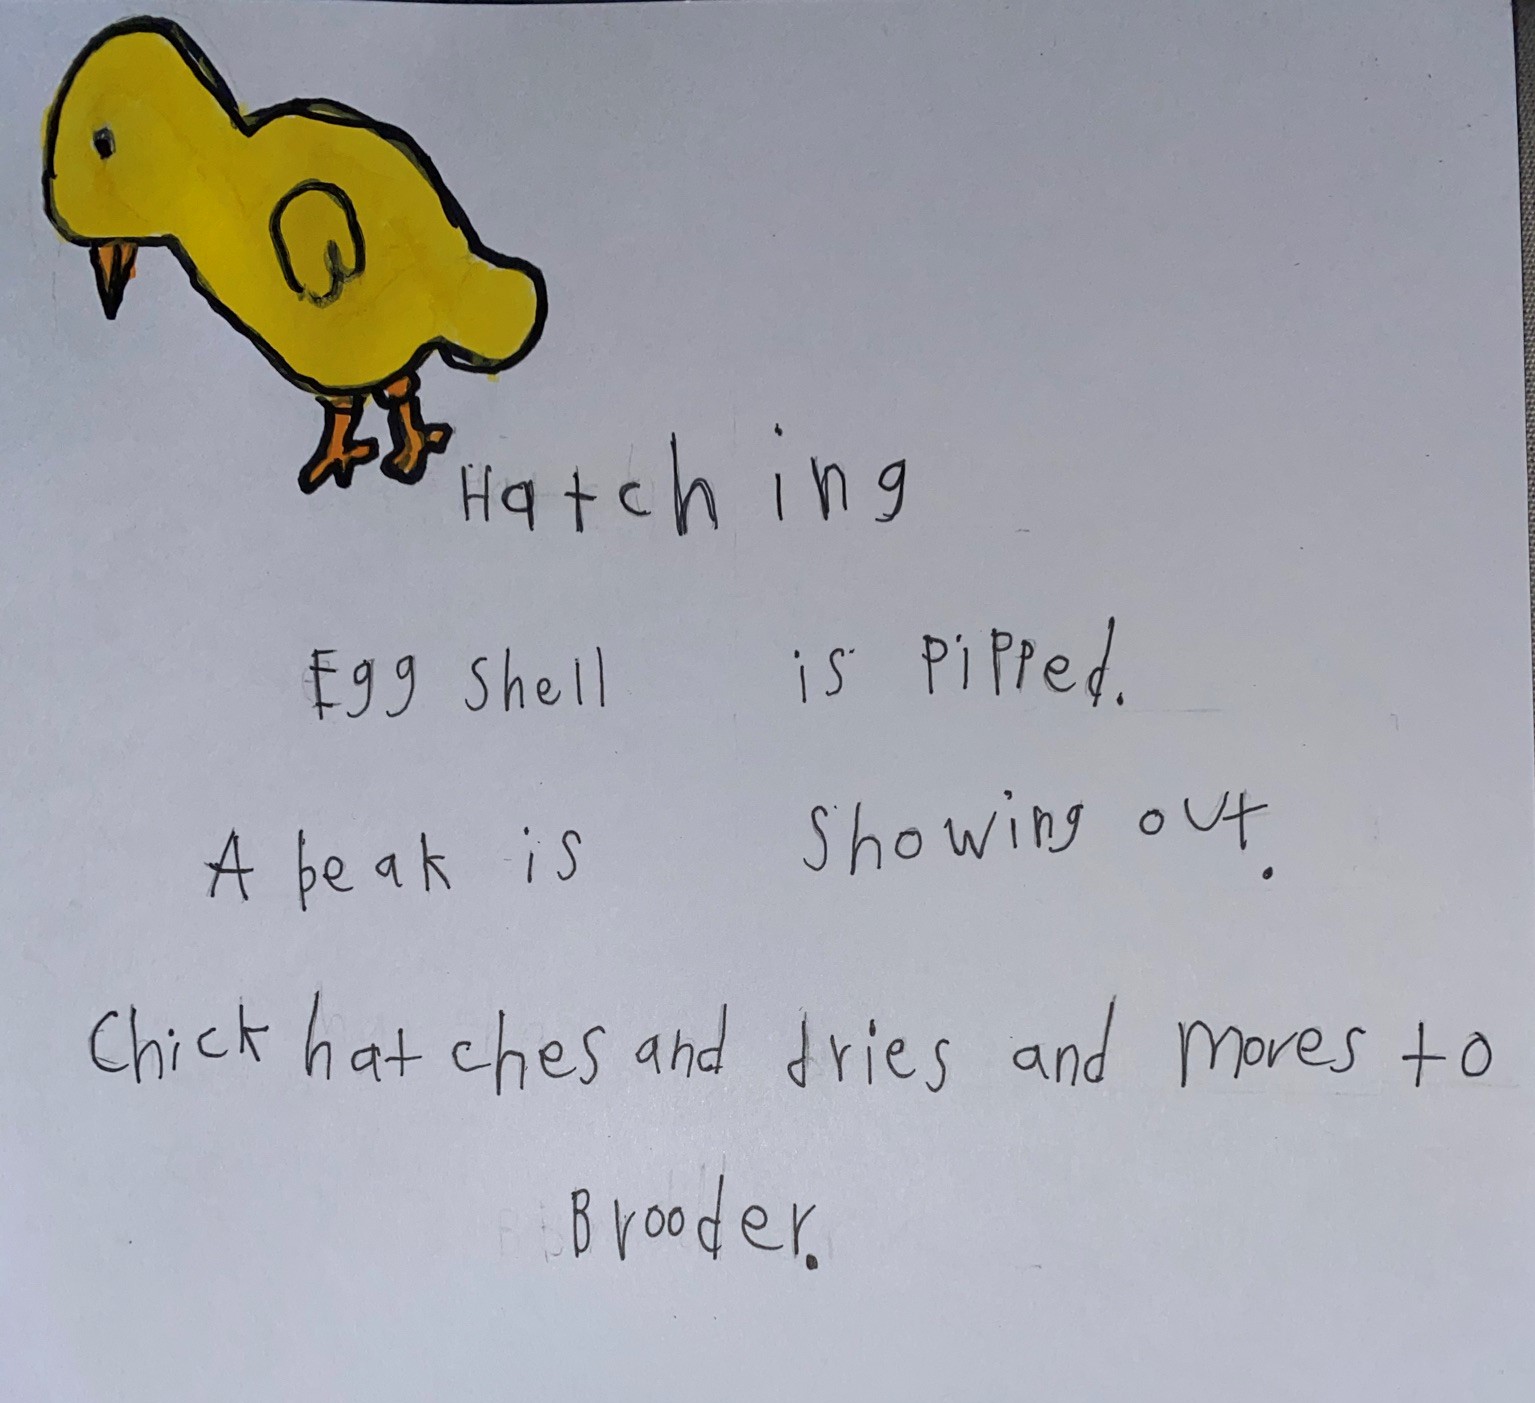
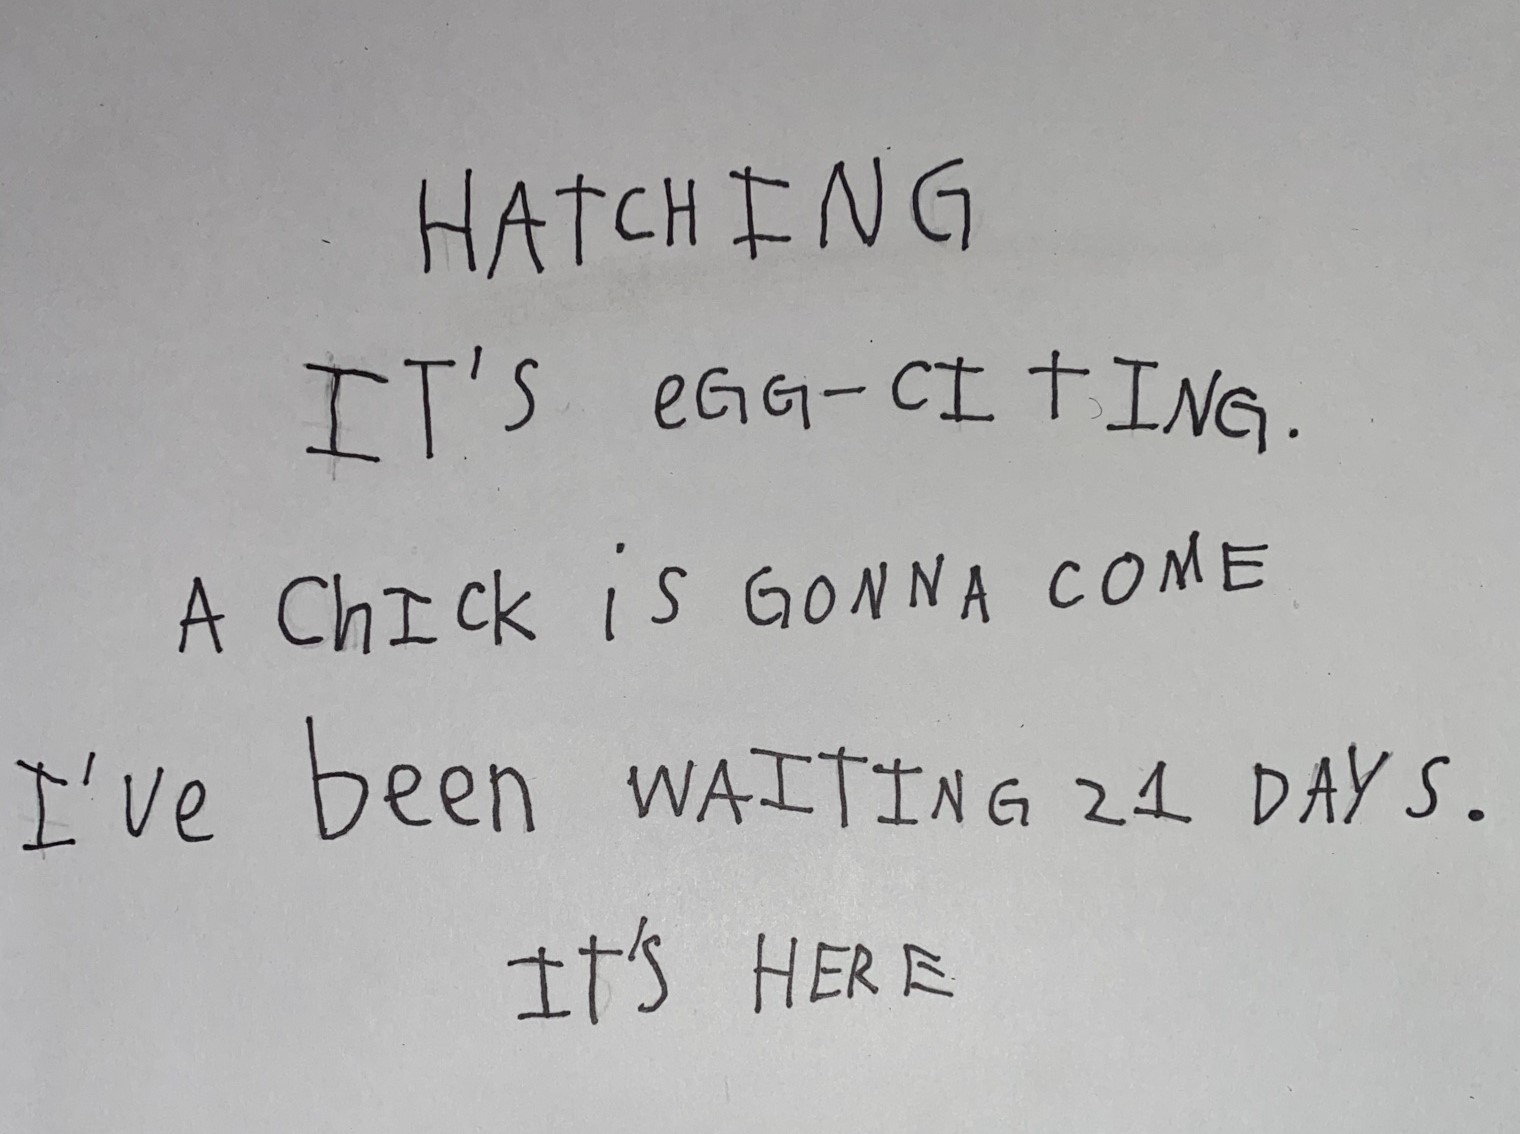
Many thanks to our local Cooperative Extension Embryology Program for making this possible!
