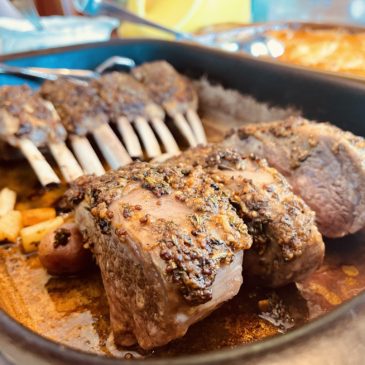
Herb Roasted Rack of Lamb


Herb Roasted Rack of Lamb

Michelle Underwood
These lamb chops are absolutely delicious! My husband prepares them for our Christ centered Passover dinner with highest accolades. He has my children begging for them any chance they get. High quality grass-fed lamb is delicious and is also so good for you. It can be pricey, which is why we tend to only splurge on it occasionally. This recipe serves approximately 4 people. To accompany the lamb I usually make a crock pot roast as well, and then the lamb will stretch to feed about 6 people.
Prep Time 15 mins
Cook Time 25 mins
Course Main Course

Ingredients
  

  • 2 pounds rack of lamb, frenched 2 racks with about 8 ribs each.

Marinade

  • 2 tbsp olive oil
  • 2 tbsp fresh rosemary, chopped
  • 5 ea cloves garlic, minced
  • 1 tbsp whole mustard seed mustard we like Maille Old Style Mustard. Dijon could be substituted in a pinch.
  • 2 tsp balsamic vinegar
  • 2 tsp dried thyme
  • 1.5 tsp salt, kosher sea salt we use Real Salt or Celtic Sea Salt
  • 1 tsp pepper
  • 1 tsp Old Bay seasoning

Instructions
 

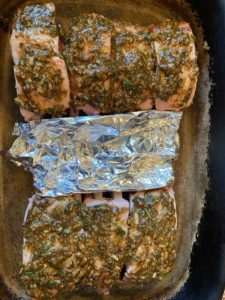
  • Place frenched rack of lamb, curved side up, in a large baking dish. Score the fat about every 1/8 inch in the same direction as the bones. Cover exposed bone with aluminum foil to prevent burning.
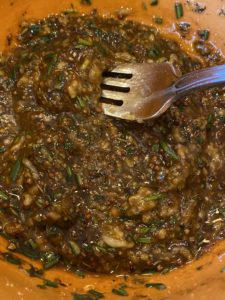
  • Prepare the marinade by mixing all marinade ingredients together until well mixed.
  • Rub marinade over entire surface of lamb. Cover and let stand at room temperature 1 to 1 1/2 hours.
  • Preheat over to 400 degrees on convection bake.
  • Bake uncovered (keeping bones covered as above) for 25 minutes, or when lamb reaches an internal temperature of 130 degrees (medium rare). Do not overcook, as lamb will continue to cook once removed from oven, and is really best served medium rare.
  • Remove from oven, cover with foil and let stand 10-15 minutes. Remove foil from bones and serve.

Baked Oatmeal


Baked Oatmeal

Michelle Underwood
This healthy quick breakfast is a treat on a cold morning. This recipe is amazingly delicious and one my family requests again and again. This recipe makes 8 servings. It reheats well and is also good cold. So embrace any leftovers.
Prep Time 10 mins
Cook Time 40 mins
Course Breakfast
Servings 8 servings

Equipment

  • 13x9 inch baking dish

Ingredients
  

  • 4 cups oats
  • 4 cups milk
  • 4 tbsp butter, melted choose grass fed when possible.
  • 2/3 cup maple syrup
  • 2 eggs
  • 2 tsp vanilla
  • 2 tsp baking powder
  • 2 tsp cinnamon
  • 1 tsp salt
  • 2 cup mini blueberries If using regular blueberries, decrease to 1 cup. Peaches are also delicious in this recipe, chop small and stick with the 2 cup measurement.

Instructions
 

  • Soak your oats overnight with milk in a large bowl in the refrigerator. See notes below on why to soak your oats first.
  • In the morning remove soaked oats from the fridge and preheat your over to 375 degrees.
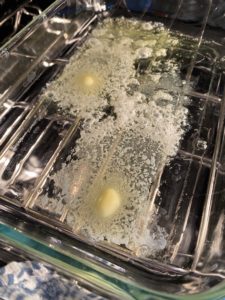
  • Add the butter to a 13x9 inch casserole dish and allow to melt in the oven during the preheat. This not only melts your butter for the recipe, but butters your dish at the same time, which is a time saving bonus!
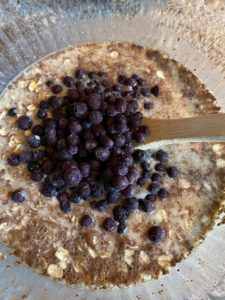
  • To soaked oats, add maple syrup, eggs, vanilla, baking powder, cinnamon and salt. Mix until incorporated. Fold in blueberries and melted butter.
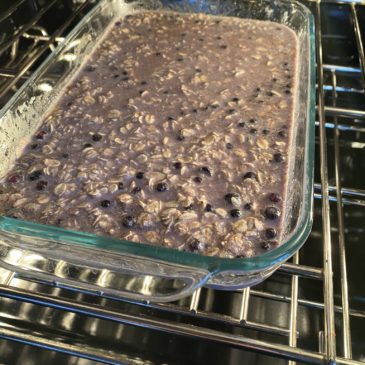
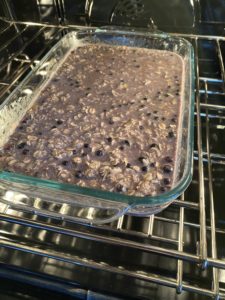
  • Bake in the oven for 30-40 minutes. until golden brown and set in the center.

Notes

Soaked oats are a traditional food that is more digestible.  This is due to the breakdown of the starches during the soaking process.  Soaking has also shown to reduce phytic acid which is known to bind with certain minerals in our diet like magnesium, calcium, iron, and zinc, making them less digestible.  Therefore soaking our oats may help make them more not only more digestible but more nutritious.   
If you happen to forget to soak your oats the night before, don't sweat it.  This recipe works great with dry oats as well.  


Maple Orange Glazed Beets

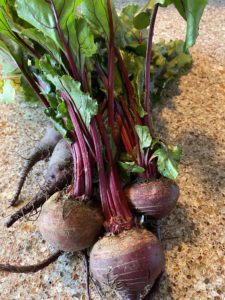
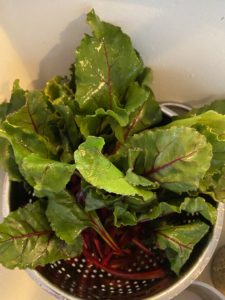
Beets are one of those superfood veggies (like Brussels sprouts) that command attention and a place on your plate.  They are loaded with with health benefits.  According the the book Eating on the Wild Side by Jo Robinson, ‘beets have more antioxidant properties than all other common vegetables in the grocery store (except artichokes, red cabbage, kale and bell peppers), with 9x more antioxidant activity than a typical tomato and 50x more than orange carrots.  Beet leaves have 7x more antioxidants than romaine lettuce and are on par with kale.’  The darker the beet the better it is for you, so choose red beets over the golden varieties.  Additionally, you want to look for the freshest beets for optimum nutrition, so be sure to purchase beets sold with their leaves still attached.

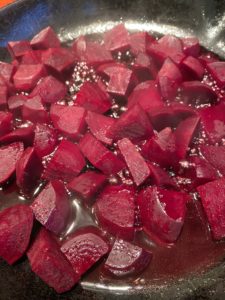
Maple Orange Glazed Beets

Michelle Underwood
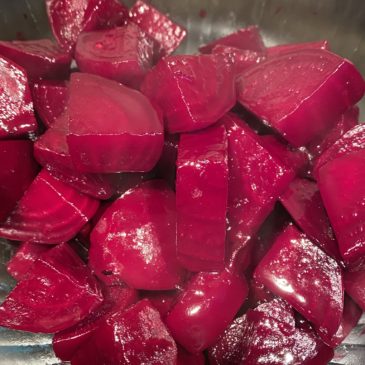
Whether you are not sure if you like beets or if you are a long time beet lover, this recipe is sure to please. They are sweet like candy, and as nutritious as... well... beets!
Prep Time 15 mins
Cook Time 25 mins
Course Side Dish
Servings 4 people

Equipment

  • steamer

Ingredients
  

  • 2 bunches red beets and greens approximately 6 beets
  • 4 tbsp orange juice fresh squeezed
  • 3 tbsp maple syrup
  • 1 tbsp butter grass fed
  • salt and pepper to taste

Instructions
 

Beets

  • Wash and trim beets, setting greens aside.
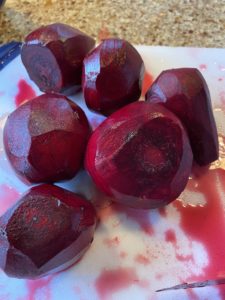
  • Peel the skin from the beets, and cut into 1 inch pieces. Steam beets about 15 minutes, or until tender when pierced with a fork.
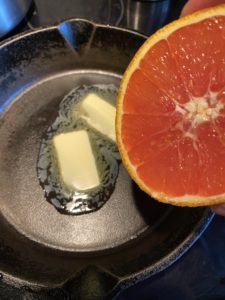
  • In a saucepan, prepare the glaze while the beets are steaming. Combine orange juice, maple syrup and butter and cook over medium heat until the liquid starts to bubble.
  • Stir in the cooked beets. Cook until the liquids thickens and creates a glaze, stirring occasionally (about 10 minutes).

Beet Greens

  • Remove the beet green from stem. To serve them right away, you can saute them in the same pan you prepared the beets in by adding a little more oil or butter to the pan. Saute until they are soft, about 5 minutes. Season with salt and pepper.
  • As another option, you can also save the greens to add to a smoothie. They are one of mine and my kids favorite greens for smoothies! They are as nutritious as kale but have a much more mild flavor.

Notes

This recipe was adapted from Eating Well magazine's Brown Sugar-Glazed Beets recipe.  

Shredded Brussels Sprouts

All vegetables in the cruciferous family are a good choice and Brussels sprouts are no exception.  Other amazing crucifers include arugula, broccoli, Brussels sprouts, cabbages, cauliflower, collard greens, kale, kohl-rabi, mustard greens, radishes and turnips.

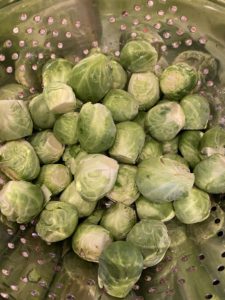
If you don’t already love Brussel sprouts, I would like to either introduce you or reacquaint you to this vegetable superfood.   In her book Eating on the Wild Side, Jo Robinson touts Brussel Sprouts as one of the healthies vegetables.  Unfortunately, they are also one of the more bitter.  Brussels sprouts are high in glucosinolates which is what makes them so healthy, but it is also what makes them bitter.  The more glucosinolates, the better the vegetable is for you, and the more bitter it tastes.  Here are a few pointers from Eating on the Wild Side to aid in purchasing Brussels sprouts that will contribute to a sweeter, nuttier and more mild flavor:

  • Look for bright green Brussels sprouts that have tightly wrapped leaves.
  • If they look wilted, yellow, or have a strong cabbage odor, they were harvested long ago and will have used up most their natural sugars and nutrients.
  • Refrigerate them as soon as you get them home and eat them within a few days.
  • Just before cooking, rinse and trim the stems.

Brussel sprouts can really be delicious.  Try them again for the first time.  This is one of my favorite ways to serve them, though they are also very good roasted.

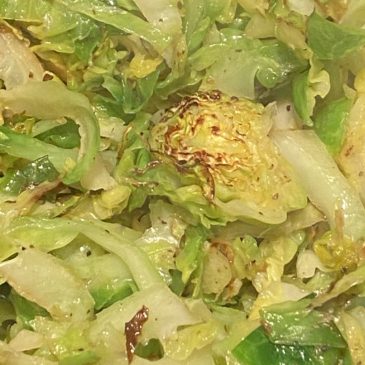
Shredded Brussel Sprouts

This quick and easy recipe is as delicious as it is nutritious. I try to serve Brussels sprouts regularly in our house. My husband loves them, and I have grown to love them over the years. If I don't at first glance love a vegetable that is really good for me, I keep at it until I do. I am happy to report that yes Brussels sprouts... I do love you!
Prep Time 15 mins
Cook Time 4 mins
Course Side Dish

Equipment

  • Food Processor

Ingredients
  

  • 16 oz package Brussels sprouts
  • 2 tbsp butter grassfed
  • salt and pepper to taste

Instructions
 

  • Wash the sprouts, trim the bottom stem and discard outer leaves that are blemished or yellow.
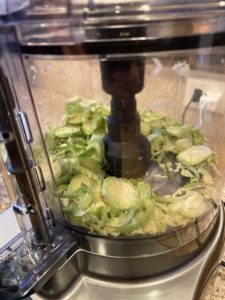
  • Using your food processor with the slicing attachment, place the sprouts in through the feed tube of the food processor fitted with a large slicing disc. Process them until they're all sliced.
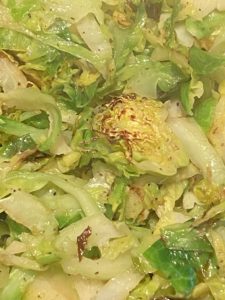
  • Warm butter in a large frying pan. Add the shredded sprouts to the pan. Sprinkle with salt and pepper. Saute them until they are soft and golden brown, but still bright green. This takes around three minutes. Be careful not to overcook them.

Notes

If you don't have a food processor, you can sometimes find shredded fresh Brussels sprouts at the grocery store.  
Maple Vanilla Hot Cocoa


Maple Vanilla Hot Cocoa

Michelle Underwood
With only 4 simple ingredients, this hot cocoa is something you can feel good about warming up with. Replace regular cocoa powder or cocoa mix with this powdered cacao recipe for a healthier twist on an all time favorite drink.
Course Drinks
Servings 4 people

Ingredients
  

  • 4 cups whole milk
  • 4 tbsp *organic cacao powder (cacao, not cocoa) - see notes below
  • 4 tbsp maple syrup
  • 1 tbsp vanilla extract

Instructions
 

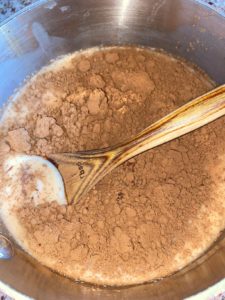
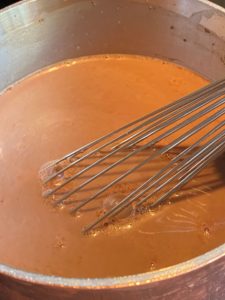
  • Combine milk, maple syrup, cacao and vanilla in a small sauce pan.
  • Whisk ingredients until smooth.
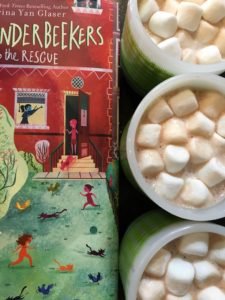
  • Warm to desired temperature and top with your choice of marshmallows or whipped cream.
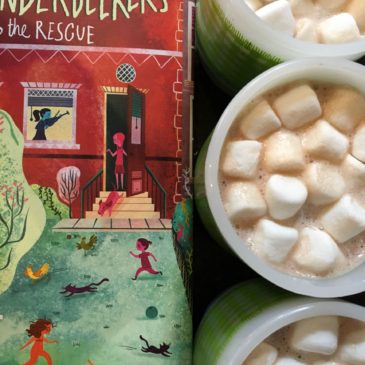
  • There is a secret ingredient... quality time. A good cup of cocoa is only as good as the company you share it with. This cocoa pairs nicely with a great book, our family recommends The Vanderbeekers to the Rescue. (Be sure to start with book 1 of the series, The Vanderbeekers of 141st Street).

Notes

A simple packet of cocoa mix (I won't mention any names here, though this one is "Swiss" in origin) has so many unnecessary ingredients, from sugar, corn syrup, modified whey, cocoa (processed with alkali), hydrogenated coconut oil, nonfat milk, salt, dipotassium phosphate, mono and diglycerides and natural flavor.   Why?   Shelf stability and convenience for starters.  
We have been taught that hot cocoa comes out of packet and is mixed with hot water.  Would you like to join me in unlearning that behavior?  My Sister-in-Law coined my motto for me in jest one afternoon.  She said if "I you to write a book it would be called I don't care if it's more convenient".  That is true about me.  I rarely elevate the status of convenience in my life.  Say it with me... "I don't care if it's more convenient". Doesn't that feel good?!  Now... let's mix up a batch of cocoa and quality time together.  
Hot Cocoa can be as nourishing as it is delicious.  Keep it simple friends with 4 simple ingredients... milk, cacao, maple syrup and vanilla.  
Real ingredients make a real difference
The ingredients listed below show up again and again in my recipes.  
Milk:  Organic milk as close to its natural source is my preference.  For a long while our family purchased raw milk from a local farm - but the prices became unreasonable.  We now purchase pastured grassfed milk when possible.  
*Cacao Powder: Made from Fairtrade certified, organic cacao beans, rich in antioxidants and minerals naturally found in the cacao bean.  For more information on the difference between cocoa and cacao powder, check out the Navitas website. 
Maple syrup:  Maple syrup is such an easy substitution to make in your pantry.  It is simple, wholesome and delicious.  Traditional syrup has a number of ingredients I try to avoid including: High Fructose Corn Syrup, Water, Cellulose Gum, Salt, Natural And Artificial Flavor, Caramel Color, Sorbic Acid And Sodium Benzoate (Preservatives), Sodium Hexametaphosphate.  Maple syrup is significantly more cost effective if you can buy it at Costco.   
Vanilla Extract: We love our homemade Handcrafted Vanilla Extract.

Waffle Heart Adventures


Waffle Hearts

Michelle Underwood
These waffles are a staple in our home. We were first inspired to make waffle hearts after reading the book Adventures with Waffles by Maria Parr. This is a great family read aloud and goes great with Waffle Hearts! Our family would like to encourage you to take your own adventure with waffle hearts by trying a new kind of flour - Einkorn whole wheat flour (instructions and tips below).
Course Breakfast
Servings 6 people

Equipment

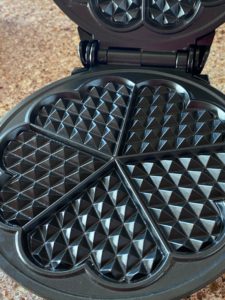
  • waffle iron

Ingredients
  

  • 2 cups wheat flour (whole wheat or Einkorn) (280 g)
  • 1 tbsp baking powder aluminum free
  • 1 tsp salt
  • 2 each eggs
  • 1.5 cups milk
  • 4 tbsp butter, melted
  • 1 tbsp honey can substitute with maple syrup or omit
  • 1 tsp vanilla
  • 1 cup mini blueberries you can omit the blueberries if desired. I have not tried regular size blueberries, but mini work amazing!

Instructions
 

  • Warm waffle iron.
  • Melt butter on low in a pan on the stove while you prep other ingredients.
  • NOTE: If using whole grain Einkorn (see notes below), grind the grain into flour in Vitamix or grain mill. I use my Vitamix and start on 1 and slowly increase to 10 for a total of about 1 minute. That's it! You have flour.
  • Combine flour, baking powder and salt in a large bowl. Stir with a whisk to combine.
  • In a 4 cup measuring cup or medium sized bowl, combine milk, eggs, honey, and vanilla. Mix well.
  • Add liquid ingredients (milk, eggs, honey and vanilla) to dry ingredients and mix just until blended. Fold in butter just until mixed, and then add blueberries. Do not overmix.
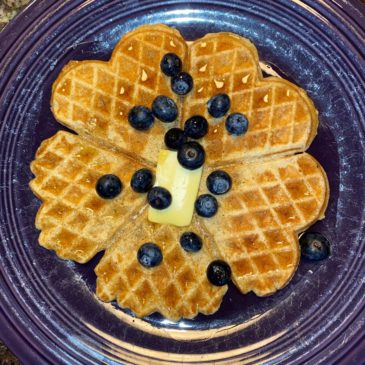
  • Add waffle mix to preheated waffle iron per manufacturers instructions. I use 1/3 cup of batter with my waffle iron and it is the perfect amount. Top with grass fed butter (like Kerrygold), fresh berries and maple syrup.

Notes

My waffle iron makes 10 6" heart waffles. 
EINKORN FLOUR
You can purchase ground Einkorn flour to try in this recipe on Amazon and most health food stores.   If you are feeling adventurous and have a Vitamix you can try your hand at grinding your own grain for this recipe.  It is easier than you might think and truly makes these waffles a cut above all the rest.  Einkorn grain is available on Amazon.  I purchase mine through Azure Standard, where it is considerably more affordable.  Start with a 5 pound bag, that's what I did.  Now I have upgraded to a 25 lb bag and have started dreaming about a grain mill.  One thing has a way of leading to another... 
WAFFLE IRON
You can use any waffle iron in this recipe.  If you don't have a heart waffle iron but really want heart waffles - you can always use a heart cookie cutter.  The waffle iron I use is the heart shaped Euro Cuisine WM520.  My goal is to upgrade my waffle iron to cast iron to get away from the nonstick side of things. 
Real ingredients make a real difference.  The ingredients in these waffles show up again and again in my recipes.  Each ingredient is purposeful and intentional.  Click HERE to learn more about each ingredient (COMING SOON).  
These waffles are best paired with the book Adventures with Waffles by Maria Parr.  This book is a great family read aloud, one you won't want to miss. So make some Waffle Hearts and enjoy and good book together.  You will be glad you did!

Chocolate-Drizzled Pumpkin Muffins

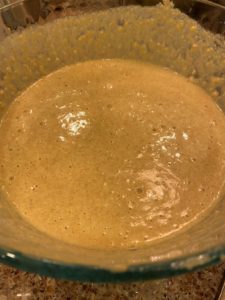
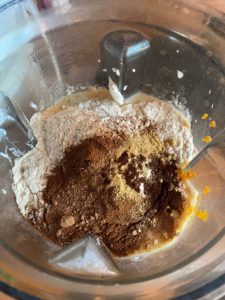
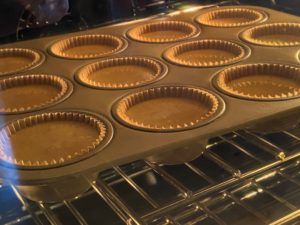
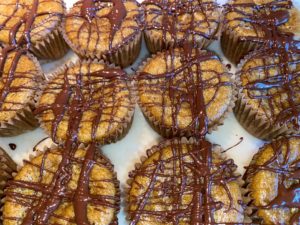
We love these pumpkin muffins!  It was a recipe I found on the blog Riddlelove years ago.  It has become a staple in our home.  The original recipe is gluten-free and grain-free.  If you do not have the almond or coconut flour on hand, either or both can be substituted with wheat flour.  You can find the full recipe HERE.

They are delicious right out of the oven as well as refrigerated overnight.

Just mix all ingredients up in your blender, bake, drizzle and serve:

Mix in the blender
Bake
Drizzle
Serve

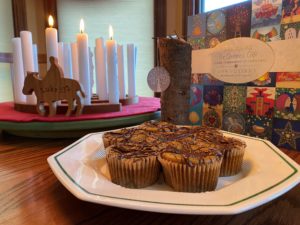
Today we enjoyed these muffins as a part of our advent celebration, along with the advent devotional by Ann Voskamp, Unwrapping the Greatest Gift: A Family Celebration of Christmas.  It is a beautiful journey through the lineage of Jesus, with daily suggestions on how to make your Christmas more holy.   Each day comes with ornaments you can print or purchase.  We chose to print them and are hanging them on our Gratitude Tree we left up after November.  Additionally, we LOVE our beautiful advent wreath.  Each day we light a candle as we read our devotions.  If you are interested in purchasing one, they are available HERE.


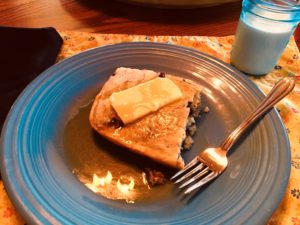
Blueberry Swirl Baked Pancakes


Blueberry Swirl Baked Pancakes

Michelle Underwood
Feeding a crowd and want to serve pancakes without spending all morning in the kitchen? Baked pancakes to the rescue. This recipe is inspired by a recipe my cousin shared with me recently (thanks Sarah). She is a busy and amazing mom of 5, so you can trust that it is simple, quick and a crowd pleaser.
Prep Time 15 mins
Cook Time 30 mins
Course Breakfast
Cuisine American
Servings 6 servings

Equipment

  • 9 x 13 glass baking dish

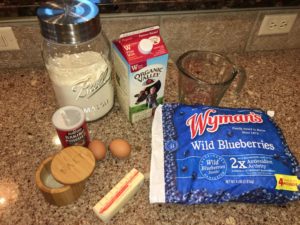
Ingredients
  

  • 1.5 cups milk
  • 2 each eggs
  • 2 Tbsp maple syrup
  • 2 cups flour, white
  • 4 Tbsp butter, melted
  • 1/2 tsp salt
  • 2 tsp baking powder
  • 1/2 cup frozen wild blueberries

Instructions
 

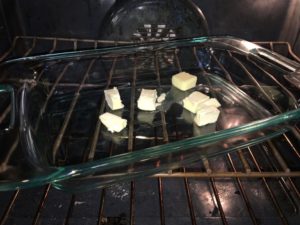
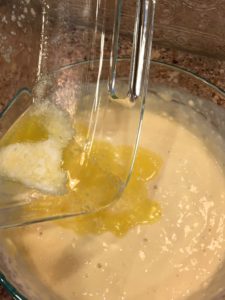
  • Cut butter into tablespoons and place in bottom of 9x13 casserole dish. Preheat oven to 350 degrees. Place casserole dish with butter into oven during preheat. This will melt the butter for your recipe and grease your pan at the same time. Butter should be fully melted by the time all your mixing is done. I am all about saving time and dishes.
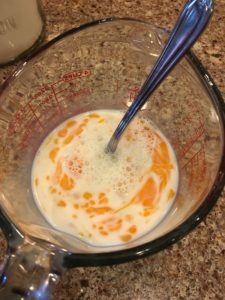
  • In a 4 cup measuring cup, combine milk, eggs, and maple syrup. Mix well with a fork and set aside.
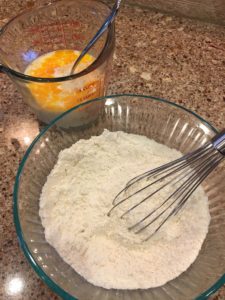
  • In a separate bowl combine flour, butter, salt and baking powder with a whisk.
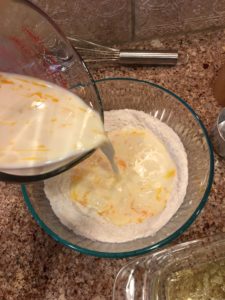
  • Pour liquid ingredients into dry ingredients. Whisk until combined. Do not overmix.
  • Remove melted butter from oven. Break up any remaining clumps with a fork and mix until dissolved. Pour butter into batter and fold in gently.
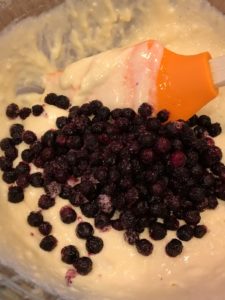
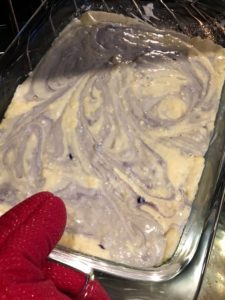
  • Fold in wild blueberries (frozen is okay). I like to gently swirl them in.
  • Pour batter into pre greased casserole dish.
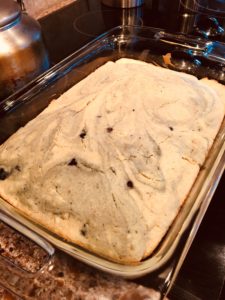
  • Bake in a 350 degree oven for 25-30 minutes, or until golden brown and toothpick inserted into the center comes out clean.
  • Serve with butter and real maple syrup.

Notes

Real Ingredients make all the difference:  
Milk: I have not tried these pancakes with non-dairy milk, but I would assume it would work.  I often make homemade almond milk in my Vitamix and make so many baked goods with it.  But for this recipe I use good old fashioned whole milk.  I usually buy grass fed milk when possible, but depending where you shop it may not be available.  
Flour: I usually choose organic whole wheat or white wheat flour, but white flour really does work best in this recipe.  It makes them light and fluffy, more like traditional restaurant pancakes.  I buy organic white flour in bulk at Costco to keep it affordable.
Eggs: Any eggs will work in this recipe, however not all eggs are created equal.  I do splurge on pastured eggs for their nutritional superiority, taste and animal welfare practices.    Next spring (2021) we are getting chickens and will be raising our own eggs.  I love pastured eggs that much!  
Maple syrup:  Maple syrup is such an easy substitution to make in your pantry.  It is simple, wholesome and delicious.  Traditional syrup has a number of ingredients I try to avoid like COVID, including: High Fructose Corn Syrup, Water, Cellulose Gum, Salt, Natural And Artificial Flavor, Caramel Color, Sorbic Acid And Sodium Benzoate (Preservatives), Sodium Hexametaphosphate.  I also buy my maple syrup at Costco. It is significantly more affordable there.  
Butter: Our family loves Kerrygold butter on our pancakes and bread.  It is grass fed and crazy good.  I bake with regular organic butter to keep the cost down, but top it off with Kerrygold.  
Salt: My favorite salt is Celtic Sea Salt.  It is mineral-rich, unrefined and hand harvested salt. It is my favorite choice.  I also will buy Redmond Real Salt which is another great option.  
Baking Powder:  Non-GMO and aluminum free baking powder is the way to go.  Due to aluminum's possible link with Alzheimer's disease as well as its metallic taste, I like to avoid it.  Deodorant is another great way to avoid aluminum.  I have a homemade recipe I will share soon (you will not be disappointed).  
Wild Blueberries: These are my favorite!  They are tiny, delicious and so good for you.  Wild blueberries are nutritionally superior to their traditional counterparts and becoming more available.  I buy these in bulk at Costco.  

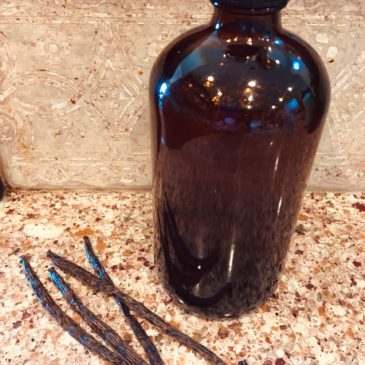
Handcrafted Vanilla Extract


Handcrafted Vanilla Extract

Michelle Underwood
A quick and simple staple to add to your pantry. Two ingredients, two minutes, and too good to miss.
Prep Time 5 mins
Cook Time 0 mins
Servings 16 fluid ounces

Ingredients
  

  • 16 fl oz Vodka any vodka will work, no need to splurge
  • 6 each Vanilla beans Grade B, Madagascar

Instructions
 

  • Wash and sanitize your bottles. Allow bottles to fully dry before using.
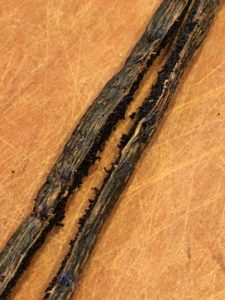
  • Split 6 vanilla beans lengthwise and then cut in half. See all the yummy seeds starting to fall out. Save those for your jar - they are like gold.
  • Place beans into the 16 fl oz jar.
  • Using a funnel, pour vodka into jar. Vodka should fully cover beans. Leave about a 1" head space at the top.
  • Label and date your bottle. Allow to sit in a cool dry place for a minimum of 8 weeks. Shake bottle periodically. The longer it brews, the more intense the flavor (go the distance, you will be glad you did - I aim for at least 6 months).

Notes

I use Grade B Madagascar Vanilla Beans and 16 ounce amber bottles
Note: You need 3 beans for every 8 fl oz of vodka.  You can adjust the bottle size to meet your needs.  
I make 2, 16 fl oz batches at the same time (6 beans per bottle), that way I always have some on hand.  It goes fast in our house - we use it in so many ways.  It is great in baked goods, homemade vanilla ice cream, espresso and even milk steamers for the kids (the alcohol cooks off as you heat the milk, no worries!). 
Food safety note: Be sure to keep your vanilla beans submerged in alcohol in the jar so they do not grow bacteria.  As the vodka gets below the beans, I remove them.    


Keyword extract